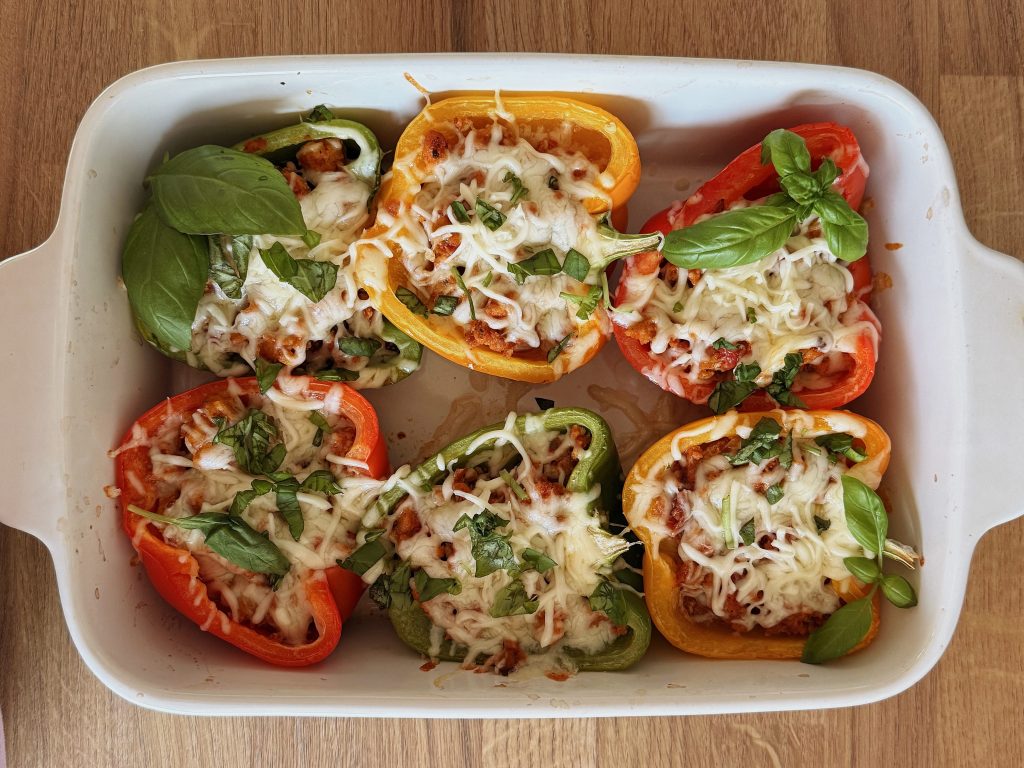
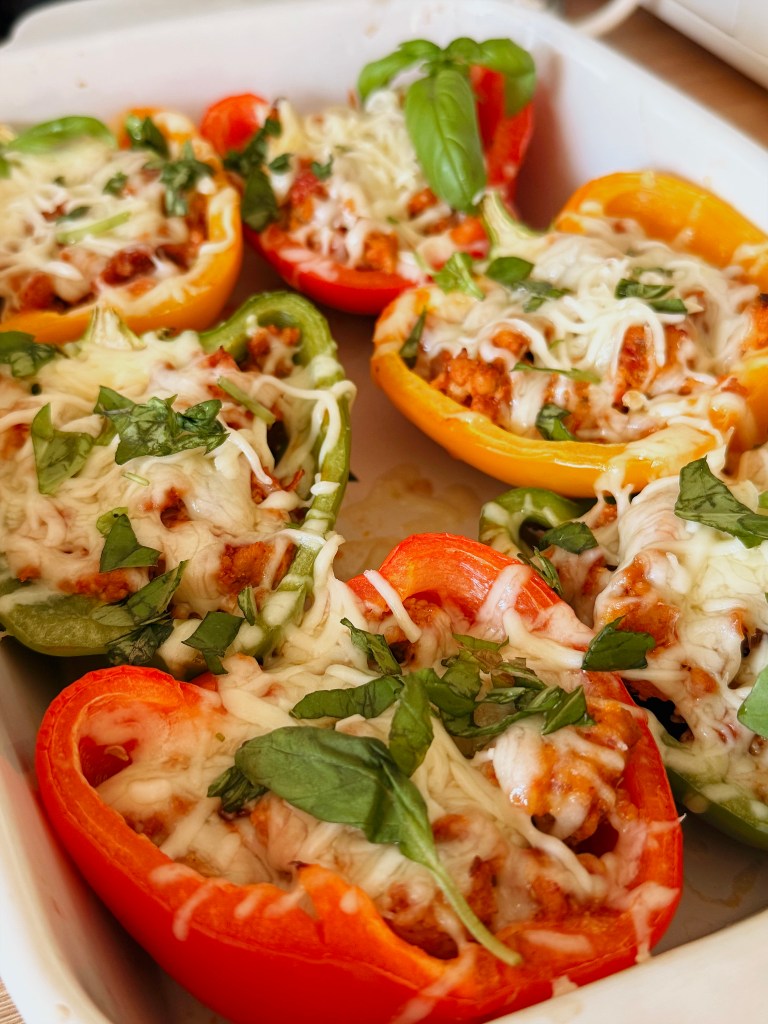
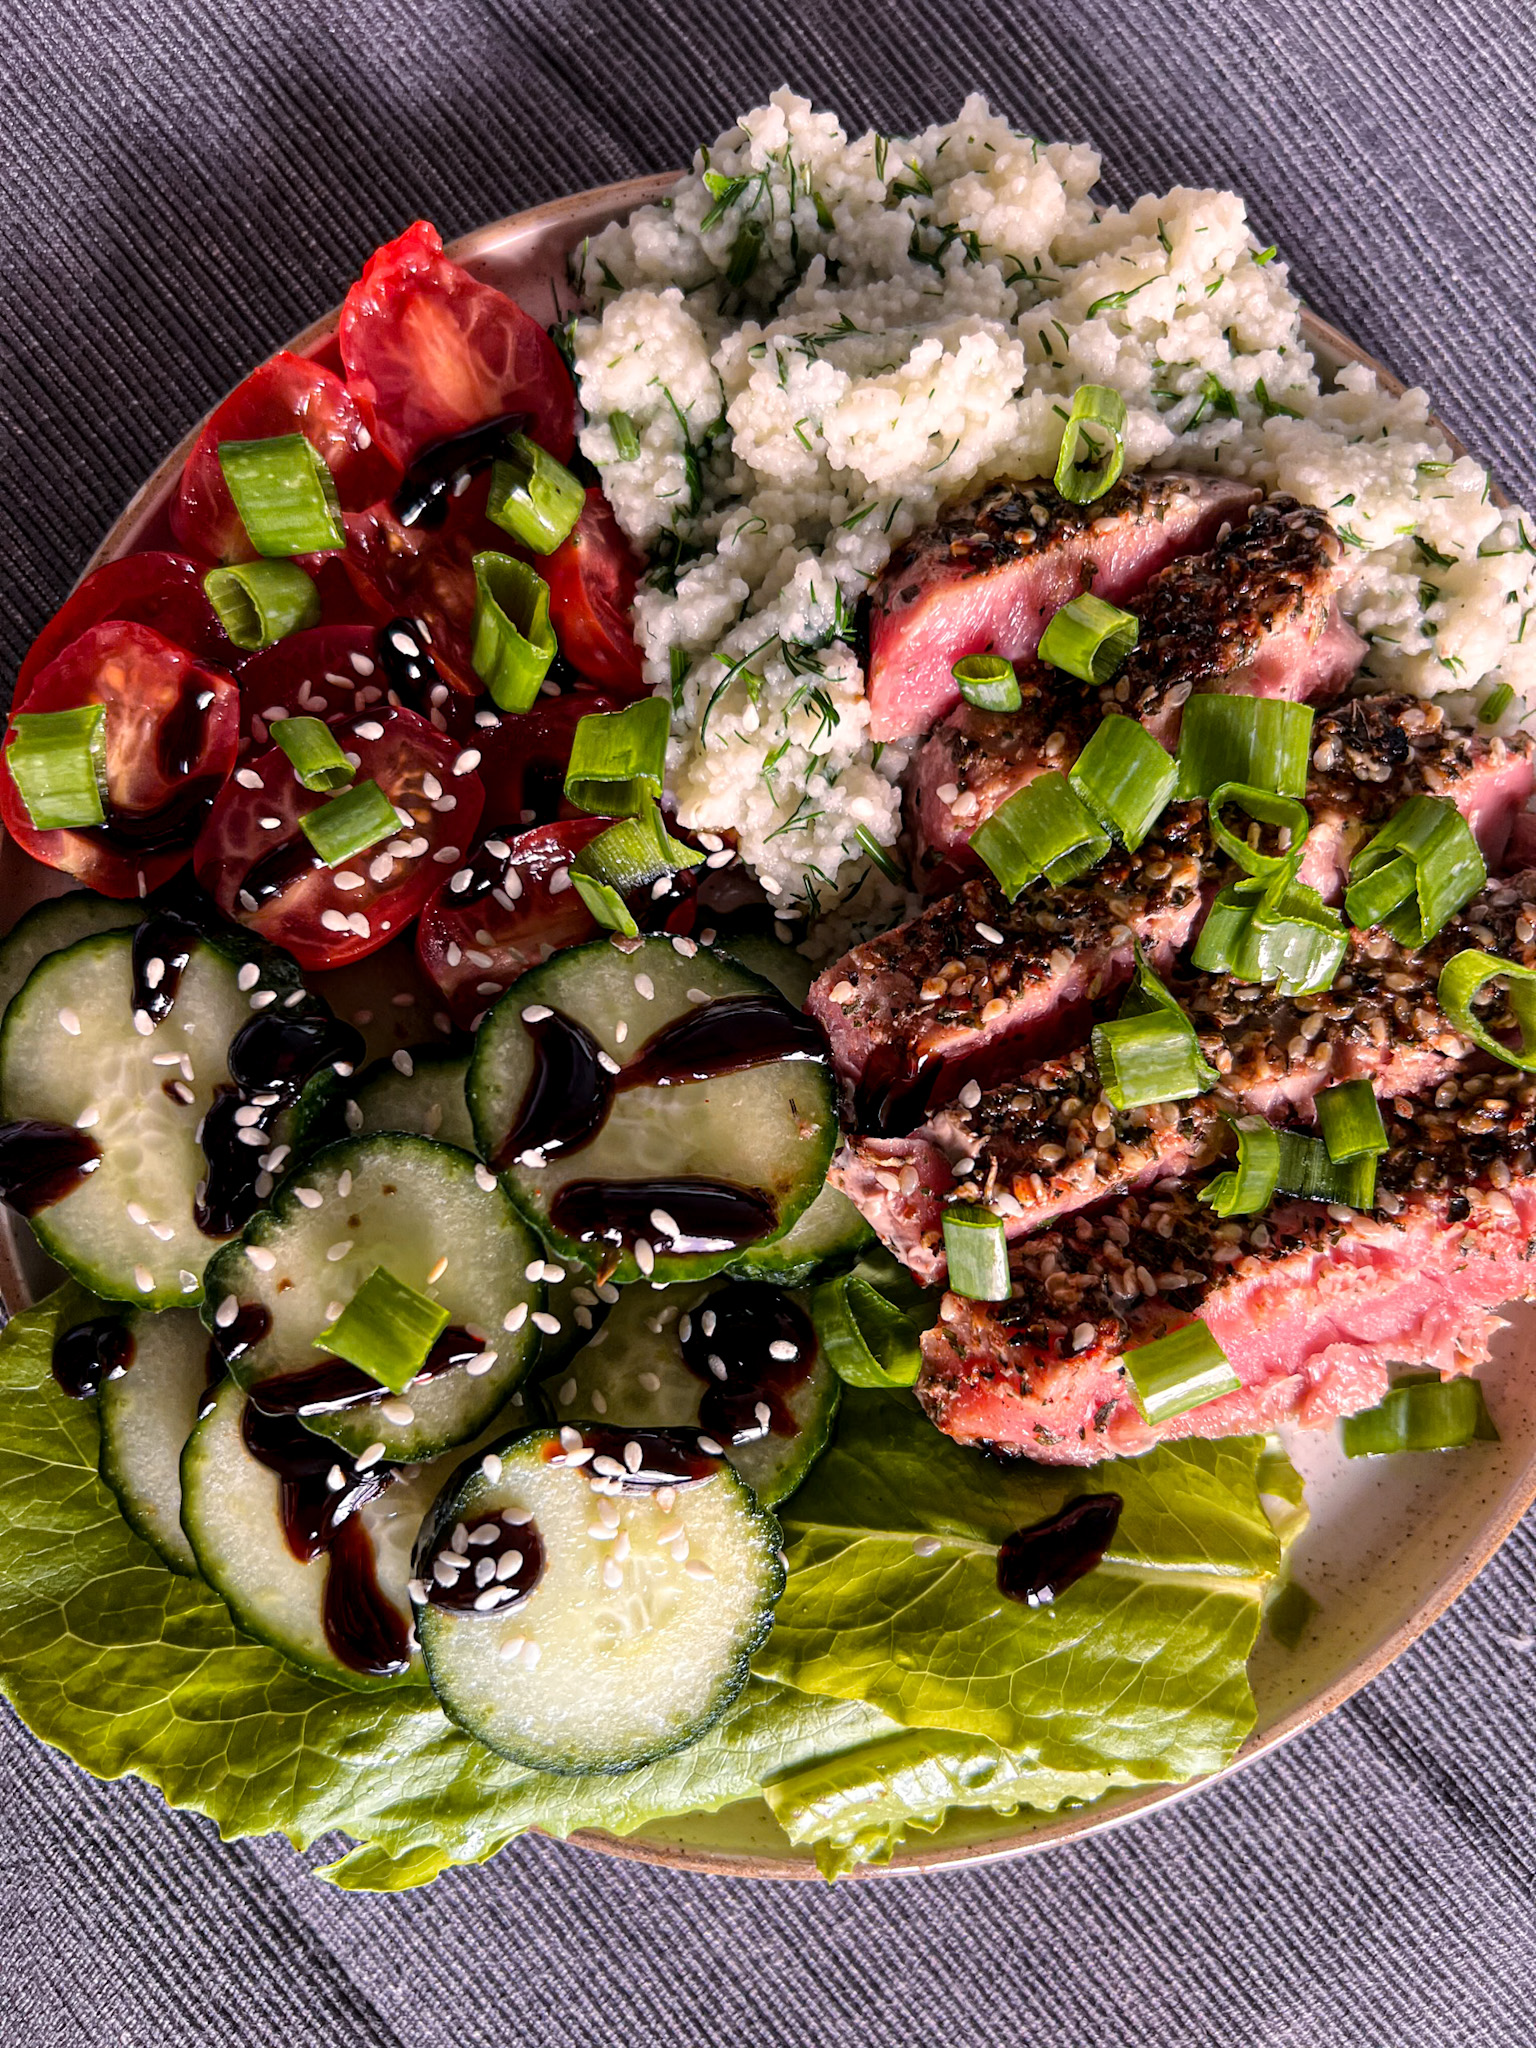
I love recipes that feel comforting without requiring hours in the kitchen, and these stuffed peppers are exactly that. They’re simple and full of flavor, with juicy ground chicken cooked in tomato sauce and tucked into sweet, tender peppers. It’s the kind of easy dinner I come back to when I want something homemade but don’t want to spend the whole evening cooking.
Prep & baking:
Prep Time: 20 minutes
Bake Time: 30 minutes
Servings: 3
Ingredients
all kinds of colourful tomatoes
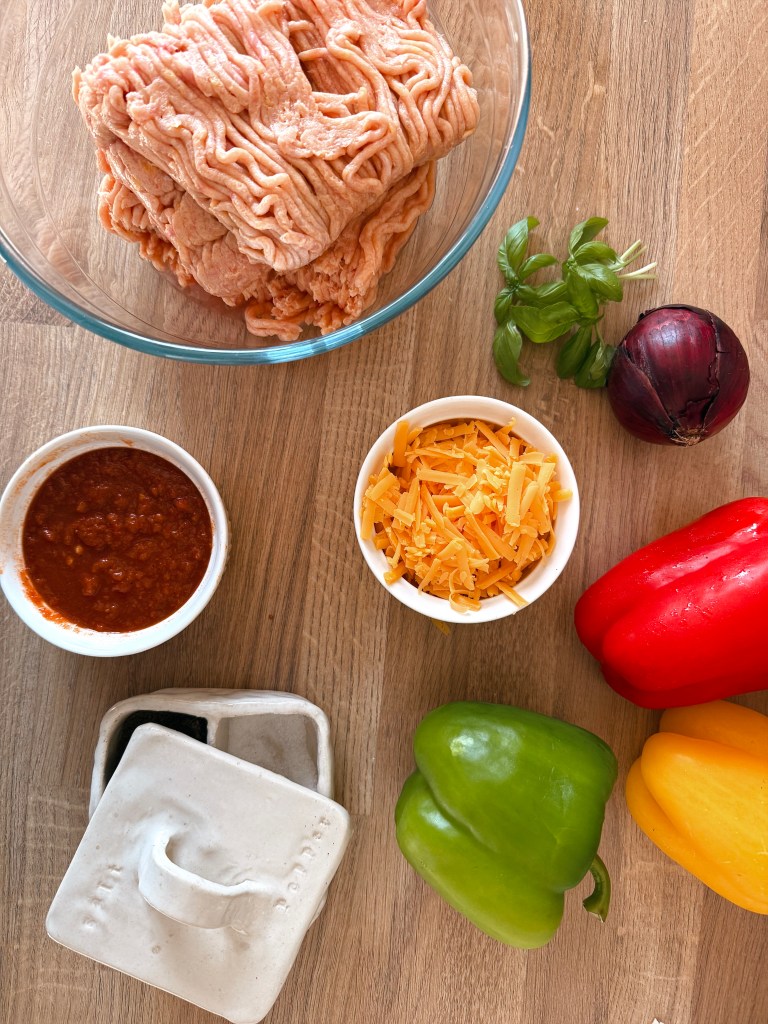
500 g ground chicken
1 cup shredded mozzarella or cheddar
½ small onion, diced
½ tsp paprika
½ tsp basil
½ tsp salt
¼ tsp black pepper
1 tbsp olive oil
fresh basil (or parsley) for serving
Instructions
Heat the oven to 200°C (400°F) . Lightly grease a large oven-safe skillet or baking dish.
Make the filling: Heat the olive oil in a skillet over medium heat. Add the onion and cook for 2–3 minutes.
Add the chicken, tomato sauce and the seasoning. Stir until everything is hot and well combined.
Fill the peppers with the chicken mixture and arrange them cut-side up in the pan.
Cover loosely with foil and bake for 15 minutes.
Remove the foil, sprinkle with mozzarella, and bake for another 8–10 minutes, until the peppers are tender and the cheese is bubbling.
Garnish with fresh basil and serve warm.
Easy Ways to Customize These Stuffed Peppers
One of my favorite things about this recipe is how easy it is to make it your own.
Add some spice: Mix in chili flakes, cayenne, or diced jalapeño for a little heat.
Make it cheesy: Top the peppers with mozzarella, cheddar, Parmesan, or feta before baking.
Add more vegetables: Stir chopped zucchini, mushrooms, spinach, or onions into the chicken filling.
Change the seasoning: Try Italian herbs, smoked paprika, garlic and oregano, or a little taco seasoning for a completely different flavor.
Use a different protein: Ground turkey or lean ground beef work just as well if that’s what you have on hand.
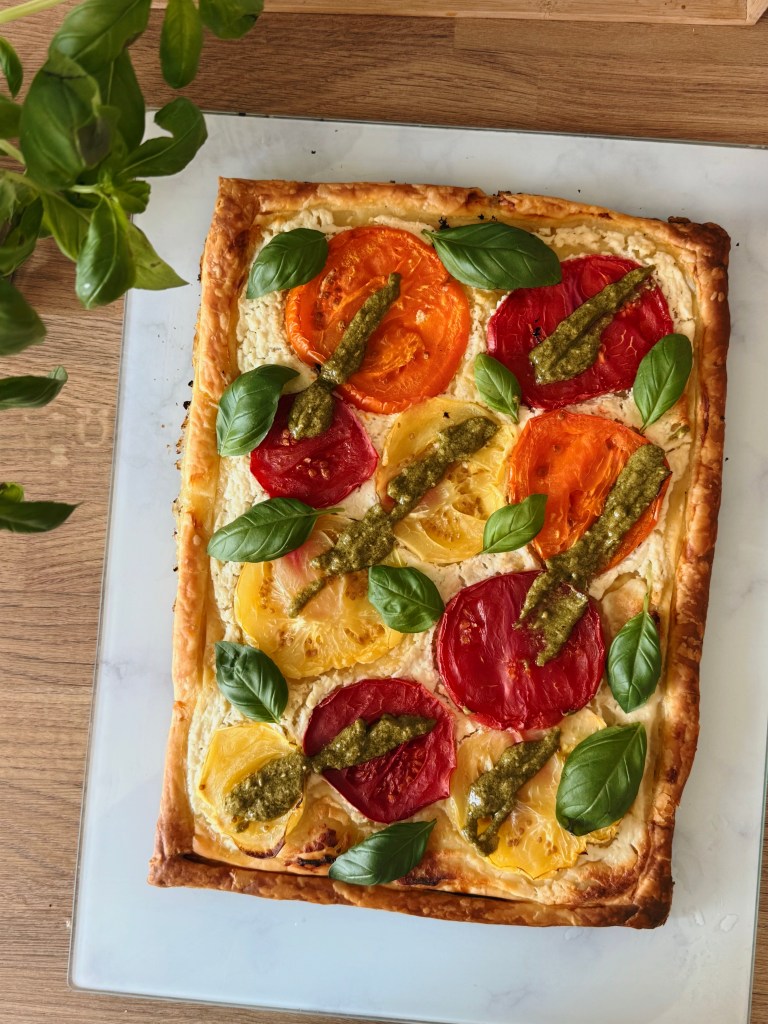
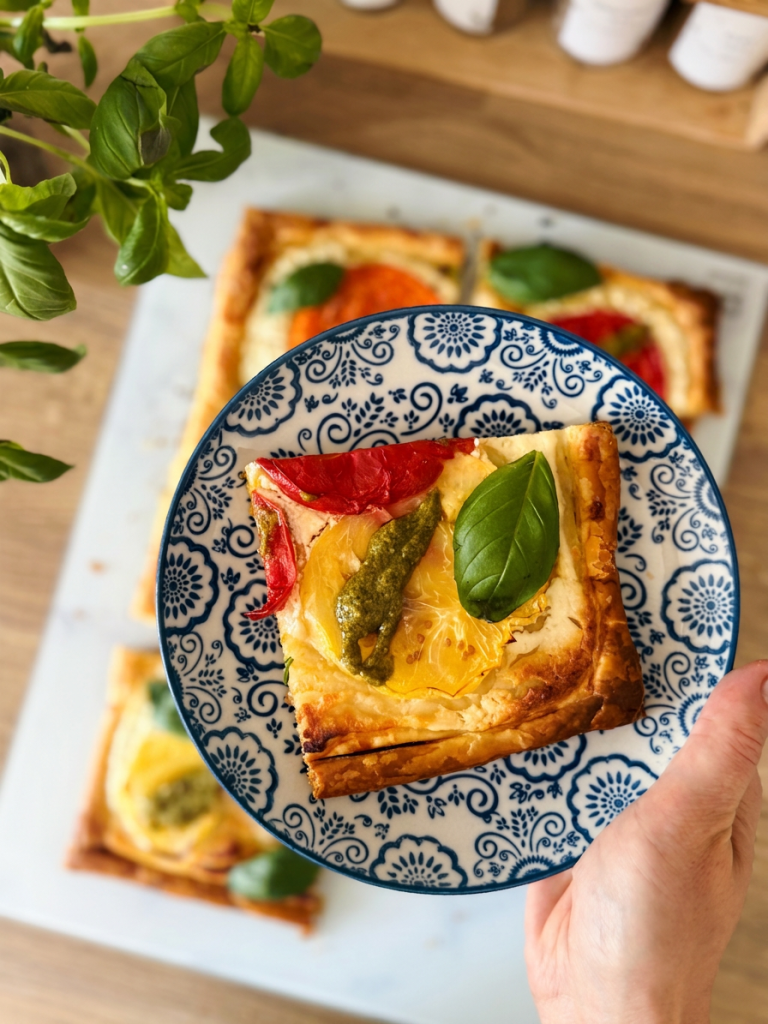
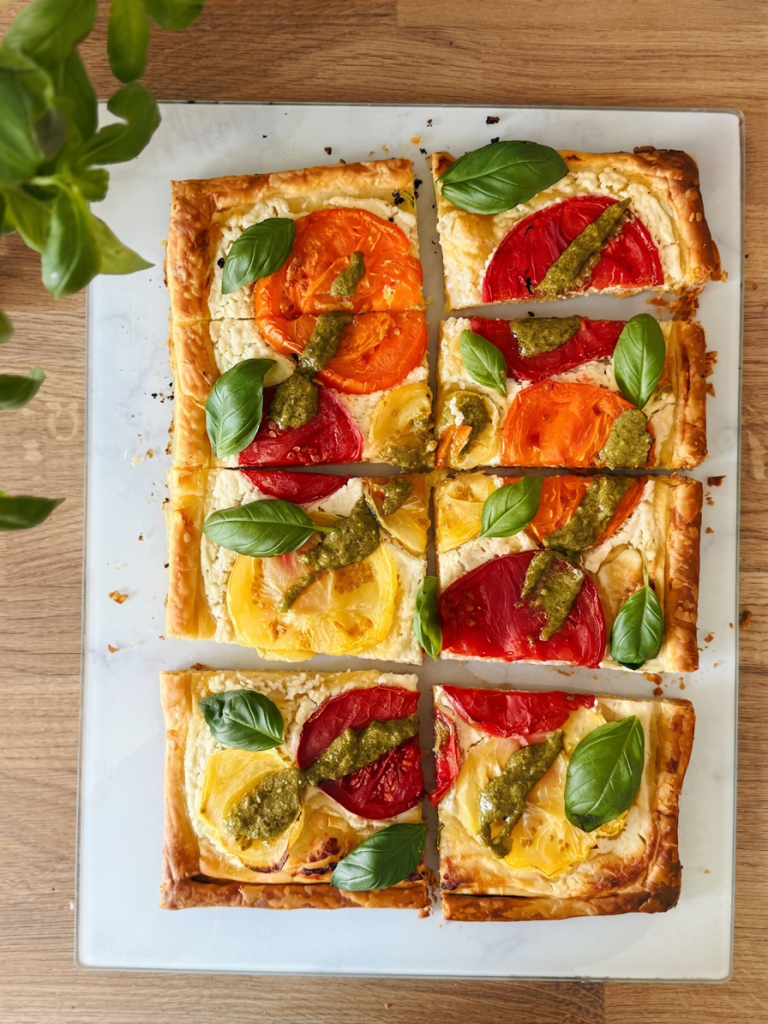
Summer is full of colourful tomatoes, and each one has its own unique flavour. Sweet yellow tomatoes, juicy red ones, and slightly tangy orange varieties come together to create a tart that’s as beautiful as it is delicious. Layered over buttery, flaky puff pastry and baked until golden, this easy three-colour tomato tart is the perfect way to celebrate the best of tomato season. Whether you’re serving it for brunch, a light dinner, or as part of a summer gathering, it’s a simple recipe that lets fresh, ripe tomatoes shine.
Why You’ll love this recipe
Ready in under 40 minutes
Great for lunch, brunch, or entertaining
Easy to customize with different cheeses and herbs
Prep & baking:
Prep Time: 10 minutes
Bake Time: 30 minutes
Servings: 8
Ingredients
all kinds of colourful tomatoes
1 sheet of puff pastry
cheese (goat cheese, ricotta, cream cheese)
pesto for topping
fresh herbs
1 beaten egg
Instructions
Preheat your oven to 180°C (350°F).
Unfold puff pastry dough on a lightly floured surface.
Using a knife, score a ~1.5cm border around the edges of the puff pastry, being careful not to cut all the way through.
Add the cheese in an even layer across the puff pastry crust.
Add sliced tomatoes, gently pushing them into the cheese.
Sprinkle the tomatoes with salt and pepper.
Brush the 1.5 crust with egg wash.
Bake for 25-30 minutes, or until the puff pastry crust is dark golden brown
Drizzle with pesto,herbs and enjoy!
Serving Suggestions
Pair with:
Fresh salad
Sparkling wine
Lemonade
Tried this recipe? I’d love to hear what you think! Leave a comment below, rate the recipe, or share a photo of your brownies. Your feedback helps others and inspires new recipe ideas.
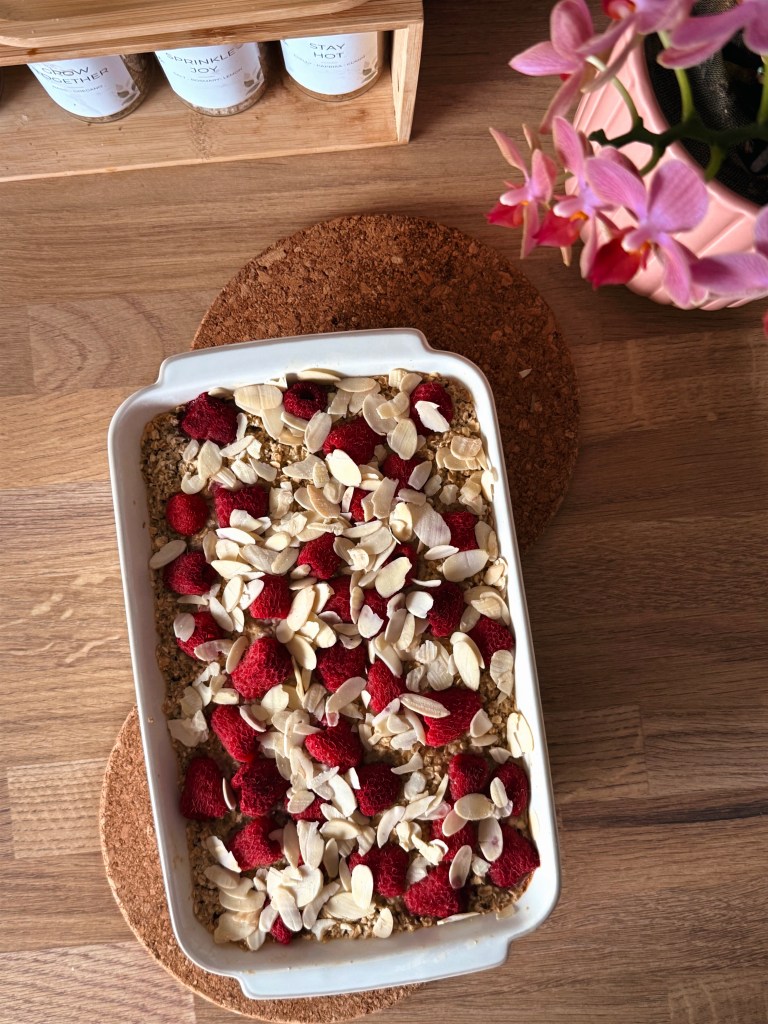
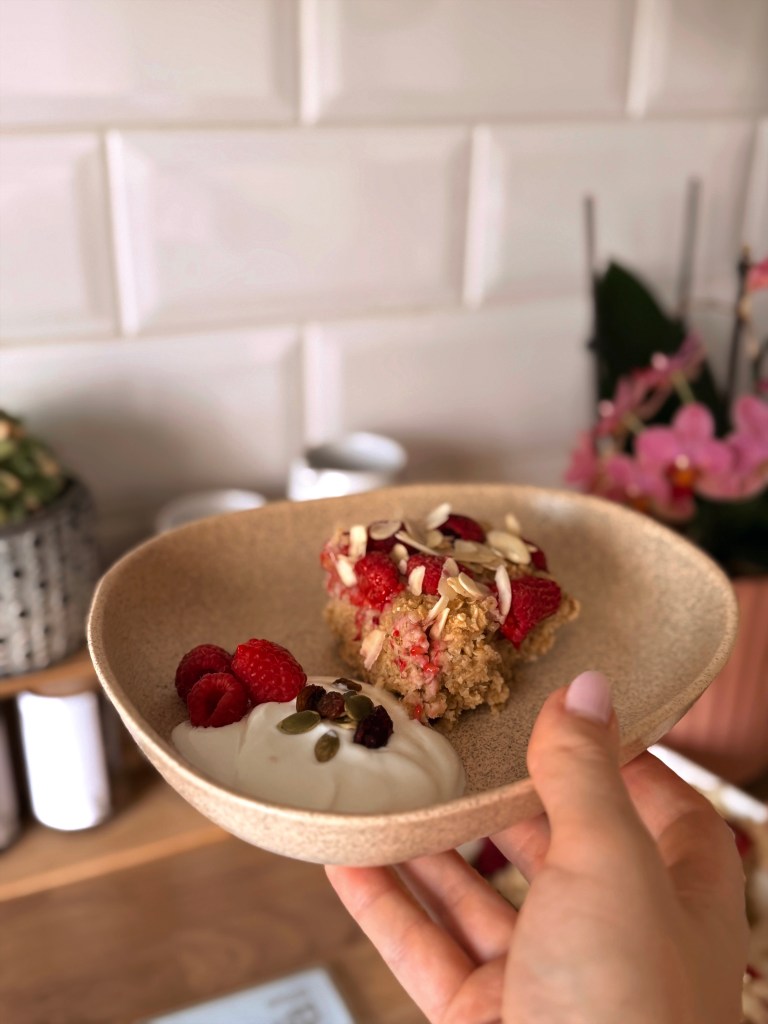
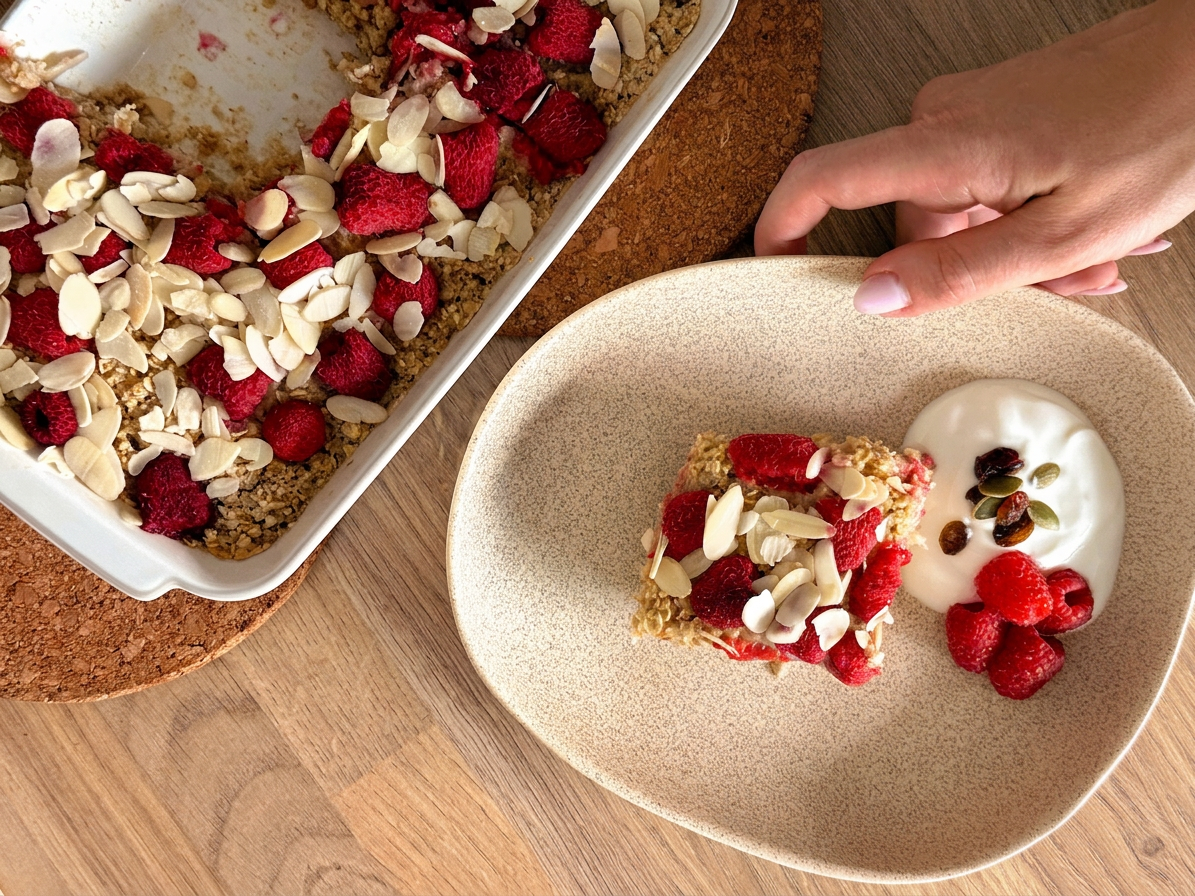
If you’re looking for a breakfast that tastes like cake but is packed with wholesome ingredients, baked oats are about to become your new favorite morning meal. They’re soft, fluffy, naturally sweet, and incredibly versatile. Best of all, you can prepare them in minutes using simple pantry staples.
Whether you’re meal-prepping for the week or craving a cozy breakfast on a busy morning, this baked oats recipe delivers comfort and nutrition in every bite.
Why You’ll Love These Baked Oats
Quick and easy to make
High in fiber and whole grains
Customizable with your favorite toppings
Perfect for meal prep
Ingredients
(20x30cm baking dish)
4 cup rolled oats
2 egg
2 cup milk of choice
1 tablespoon maple syrup or honey or other sweetener
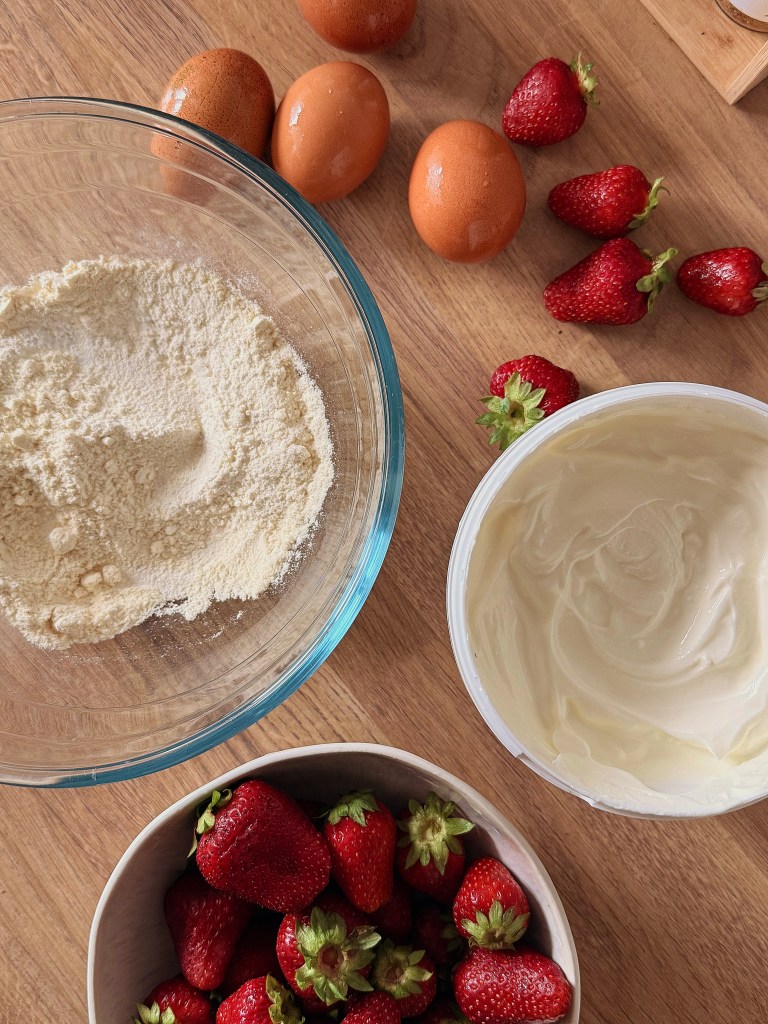
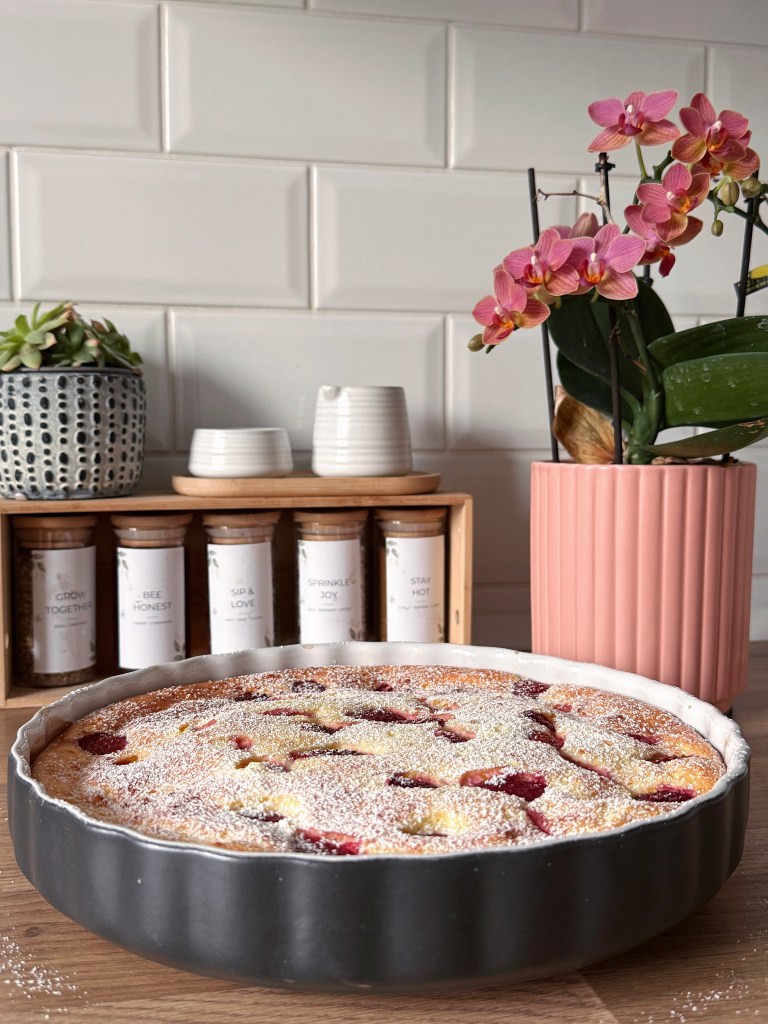
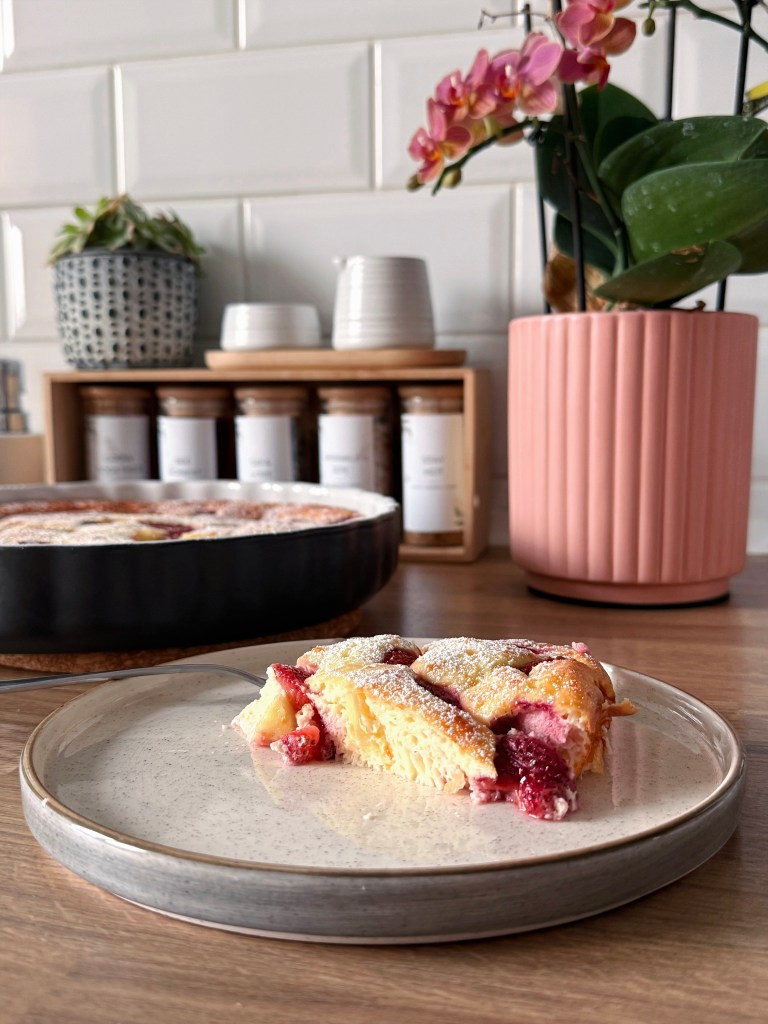
This yogurt cake is wonderfully tender thanks to the yogurt, which keeps the crumb soft without making it heavy. Fresh strawberries are folded into the batter and scattered on top, where they become juicy pockets of fruit as the cake bakes. A light dusting of powdered sugar is all it needs to finish.
Ingredients
● 500 g Greek yogurt ● 4 large eggs ● 50 g sweetener ● 1 tsp vanilla extract ● 100 g all-purpose flour (optionally 50g vanilla protein powder) ● 2 tsp baking powder ● 225 g fresh strawberries, hulled and diced ● Powdered sugar, for dusting
Method
1. Preheat your oven to 160°C.
2. In a large bowl, whisk together the yogurt, eggs, sugar, oil, and vanilla until smooth.
3. In a separate bowl, combine the flour, baking powder, and salt.
4. Gradually add the dry ingredients to the wet ingredients, stirring just until combined. Avoid overmixing.
5. Gently fold in about 1 cup of the diced strawberries.
6. Pour the batter into the prepared cake pan and smooth the top. Scatter the remaining strawberries over the surface.
7. Bake for 35–40 minutes, or until a toothpick inserted into the center comes out clean.
8. Allow the cake to cool in the pan for 10 minutes before transferring it to a wire rack to cool completely
9. Dust with powdered sugar before serving.
Serving Suggestions
Serve this strawberry yogurt cake slightly warm with whipped cream, a scoop of vanilla ice cream, or a dollop of extra Greek yogurt. It also pairs beautifully with coffee, tea, or a glass of sparkling lemonade.
Tried this recipe? I’d love to hear what you think! Leave a comment below, rate the recipe, or share a photo of your brownies. Your feedback helps others and inspires new recipe ideas.
Craving something chocolatey but still want to hit your protein goals? These high-protein brownies are rich, fudgy, and packed with flavor—without tasting like a typical “healthy” dessert. Perfect as a post-workout treat, afternoon snack, or guilt-free dessert, they’re easy to make and guaranteed to satisfy your sweet tooth.
Ingredients
2 bananas
4 eggs
200g Greek yogurt
1 tbsp baking powder
30g chocolate protein powder
2 tbsp cocoa powder
Optional: sweetener
Pistachio and raspberry for topping
Method
Preheat oven to 175°C.
Blend the ingredients together.
Grease or line an 20×20 cm baking pan with parchment paper. Pour the mixture into the pan and spread evenly.
Add the toppings: pistachio and raspberry.
Bake for 20–25 minutes.
Cool completely before cutting.
That’s it—simple ingredients, minimal effort, and a batch of delicious high-protein brownies. Whether you enjoy them as a snack, dessert, or post-workout treat, they’re sure to become a regular in your recipe rotation.
Storage Tips
To keep your healthy brownies fresh and delicious, allow them to cool completely before storing. Place the brownies in an airtight container and keep them at room temperature for up to 3 days.
For longer storage, refrigerate them in a sealed container for up to 1 week. Chilling can make the brownies even fudgier, making them a great make-ahead treat.
Tried this recipe? I’d love to hear what you think! Leave a comment below, rate the recipe, or share a photo of your brownies. Your feedback helps others and inspires new recipe ideas.
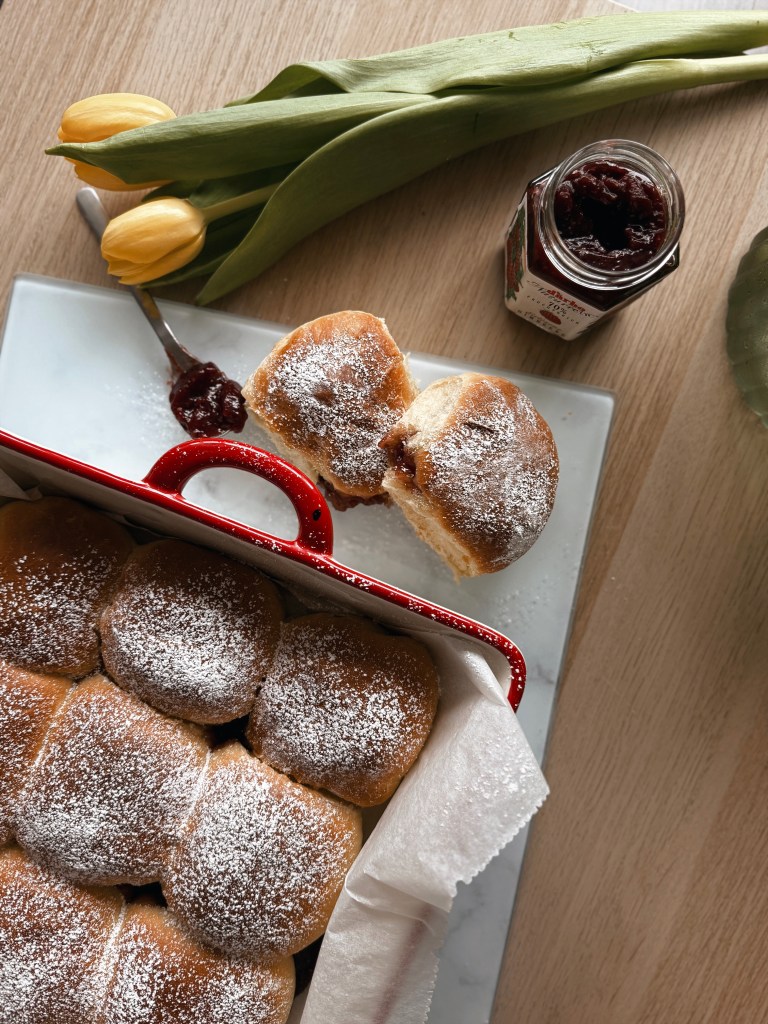
There’s something deeply comforting about baking in a lazy, no-rush Sunday. The quiet moment when the dough begins to rise, the familiar scent of warm milk and sugar, and the promise of something golden waiting in the oven—it all slows time down just enough. These jam pull-apart buns are the kind of treat that belong in a calm afternoon, when the kitchen is warm and there’s no rush to be anywhere else.
Make a pot of coffee or tea, clear a little space on the counter, and let your kitchen become a bakery for the day.
Ingredients:
2.5 dl lukewarm milk
3 tablespoons sugar
25 g fresh yeast
500 g fine wheat flour
1 teaspoon salt
1 tsp vanilla essence
3 egg yolks
50 g melted butter
2 dl thick jam
Instructions:
Activate the yeast: stir 1 teaspoon of sugar into the lukewarm milk, crumble in the yeast, and let it bloom for a few minutes until foamy
Prepare the dough: in a large bowl, mix the flour with the salt and remaining sugar. Make a well in the center and add the yeast mixture, egg yolks, vanilla essence and melted butter. Knead until you get a smooth, soft dough.
First rise: cover the bowl and let the dough rise in a warm place for about 45 minutes, until doubled in size.
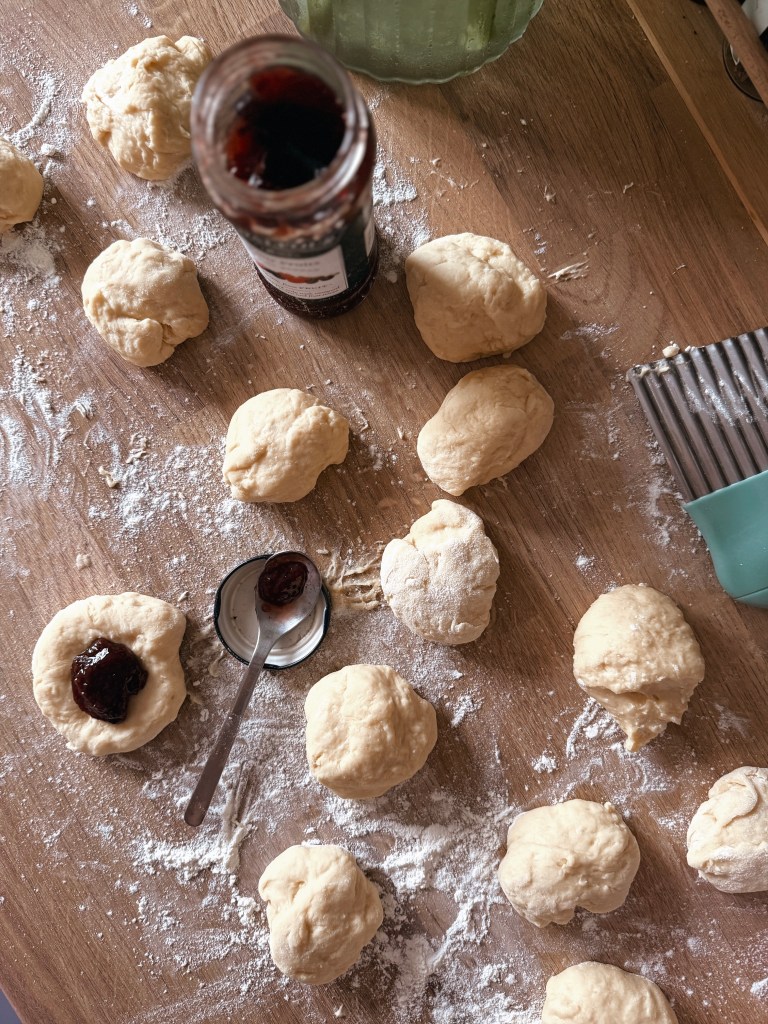
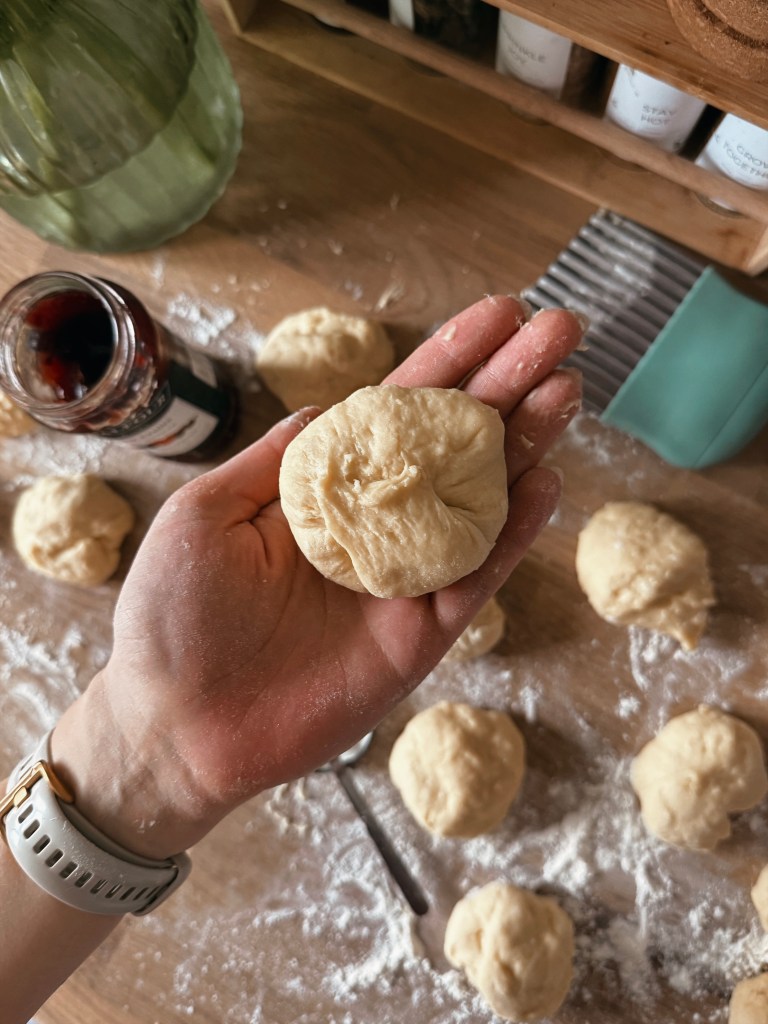
Shape the buns: turn the dough out onto a lightly floured surface and divide it into 16 equal pieces. Roll each piece into a ball, cover, and let them rest for 10 minutes.
Prepare the baking dish: lightly butter a round baking dish and line the bottom and sides with baking paper.
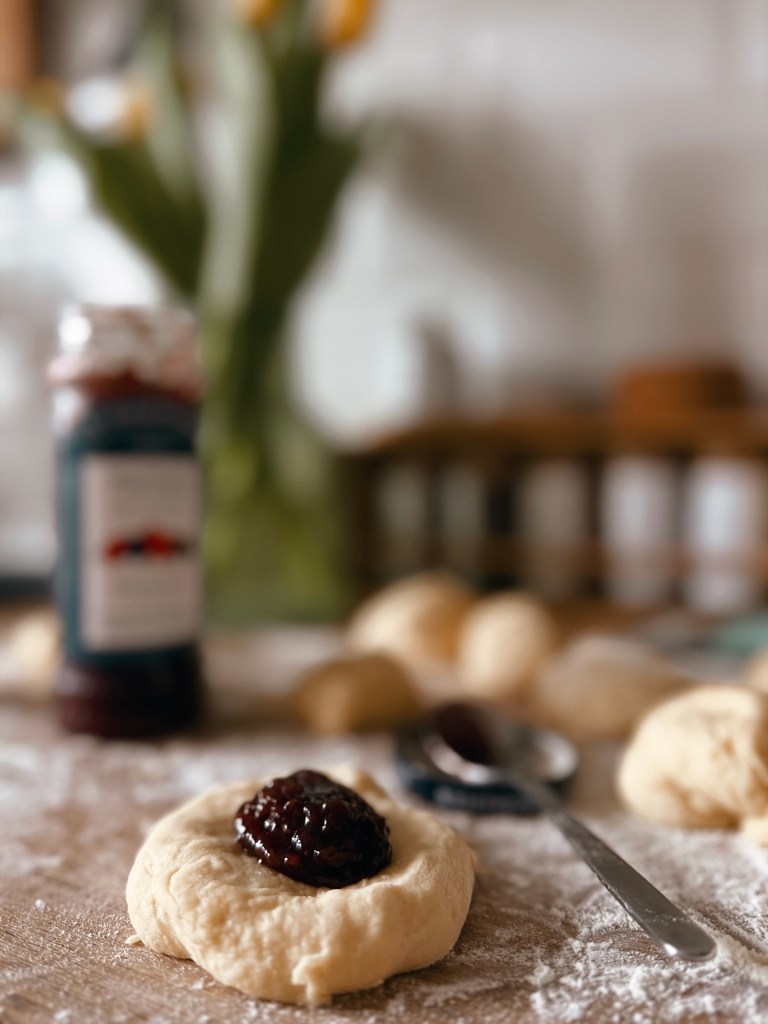
Fill and assemble: gently flatten each dough ball, place 1 teaspoon of jam in the center, pinch the edges closed, and reshape into a smooth ball. Arrange them seam-side down in the baking dish, leaving about 1 cm space between each.
Second rise: cover and let rise for 30 minutes. Meanwhile, preheat the oven to 180°C (356°F).
Bake in the preheated oven for about 30 minutes, until beautifully golden brown.
Sprinkle with powdered sugar for serving.
Serving Tips
Best served warm, with coffee or tea
Delicious on its own, but also lovely with a dusting of powdered sugar
Keeps soft for a day, but honestly—it rarely lasts that long
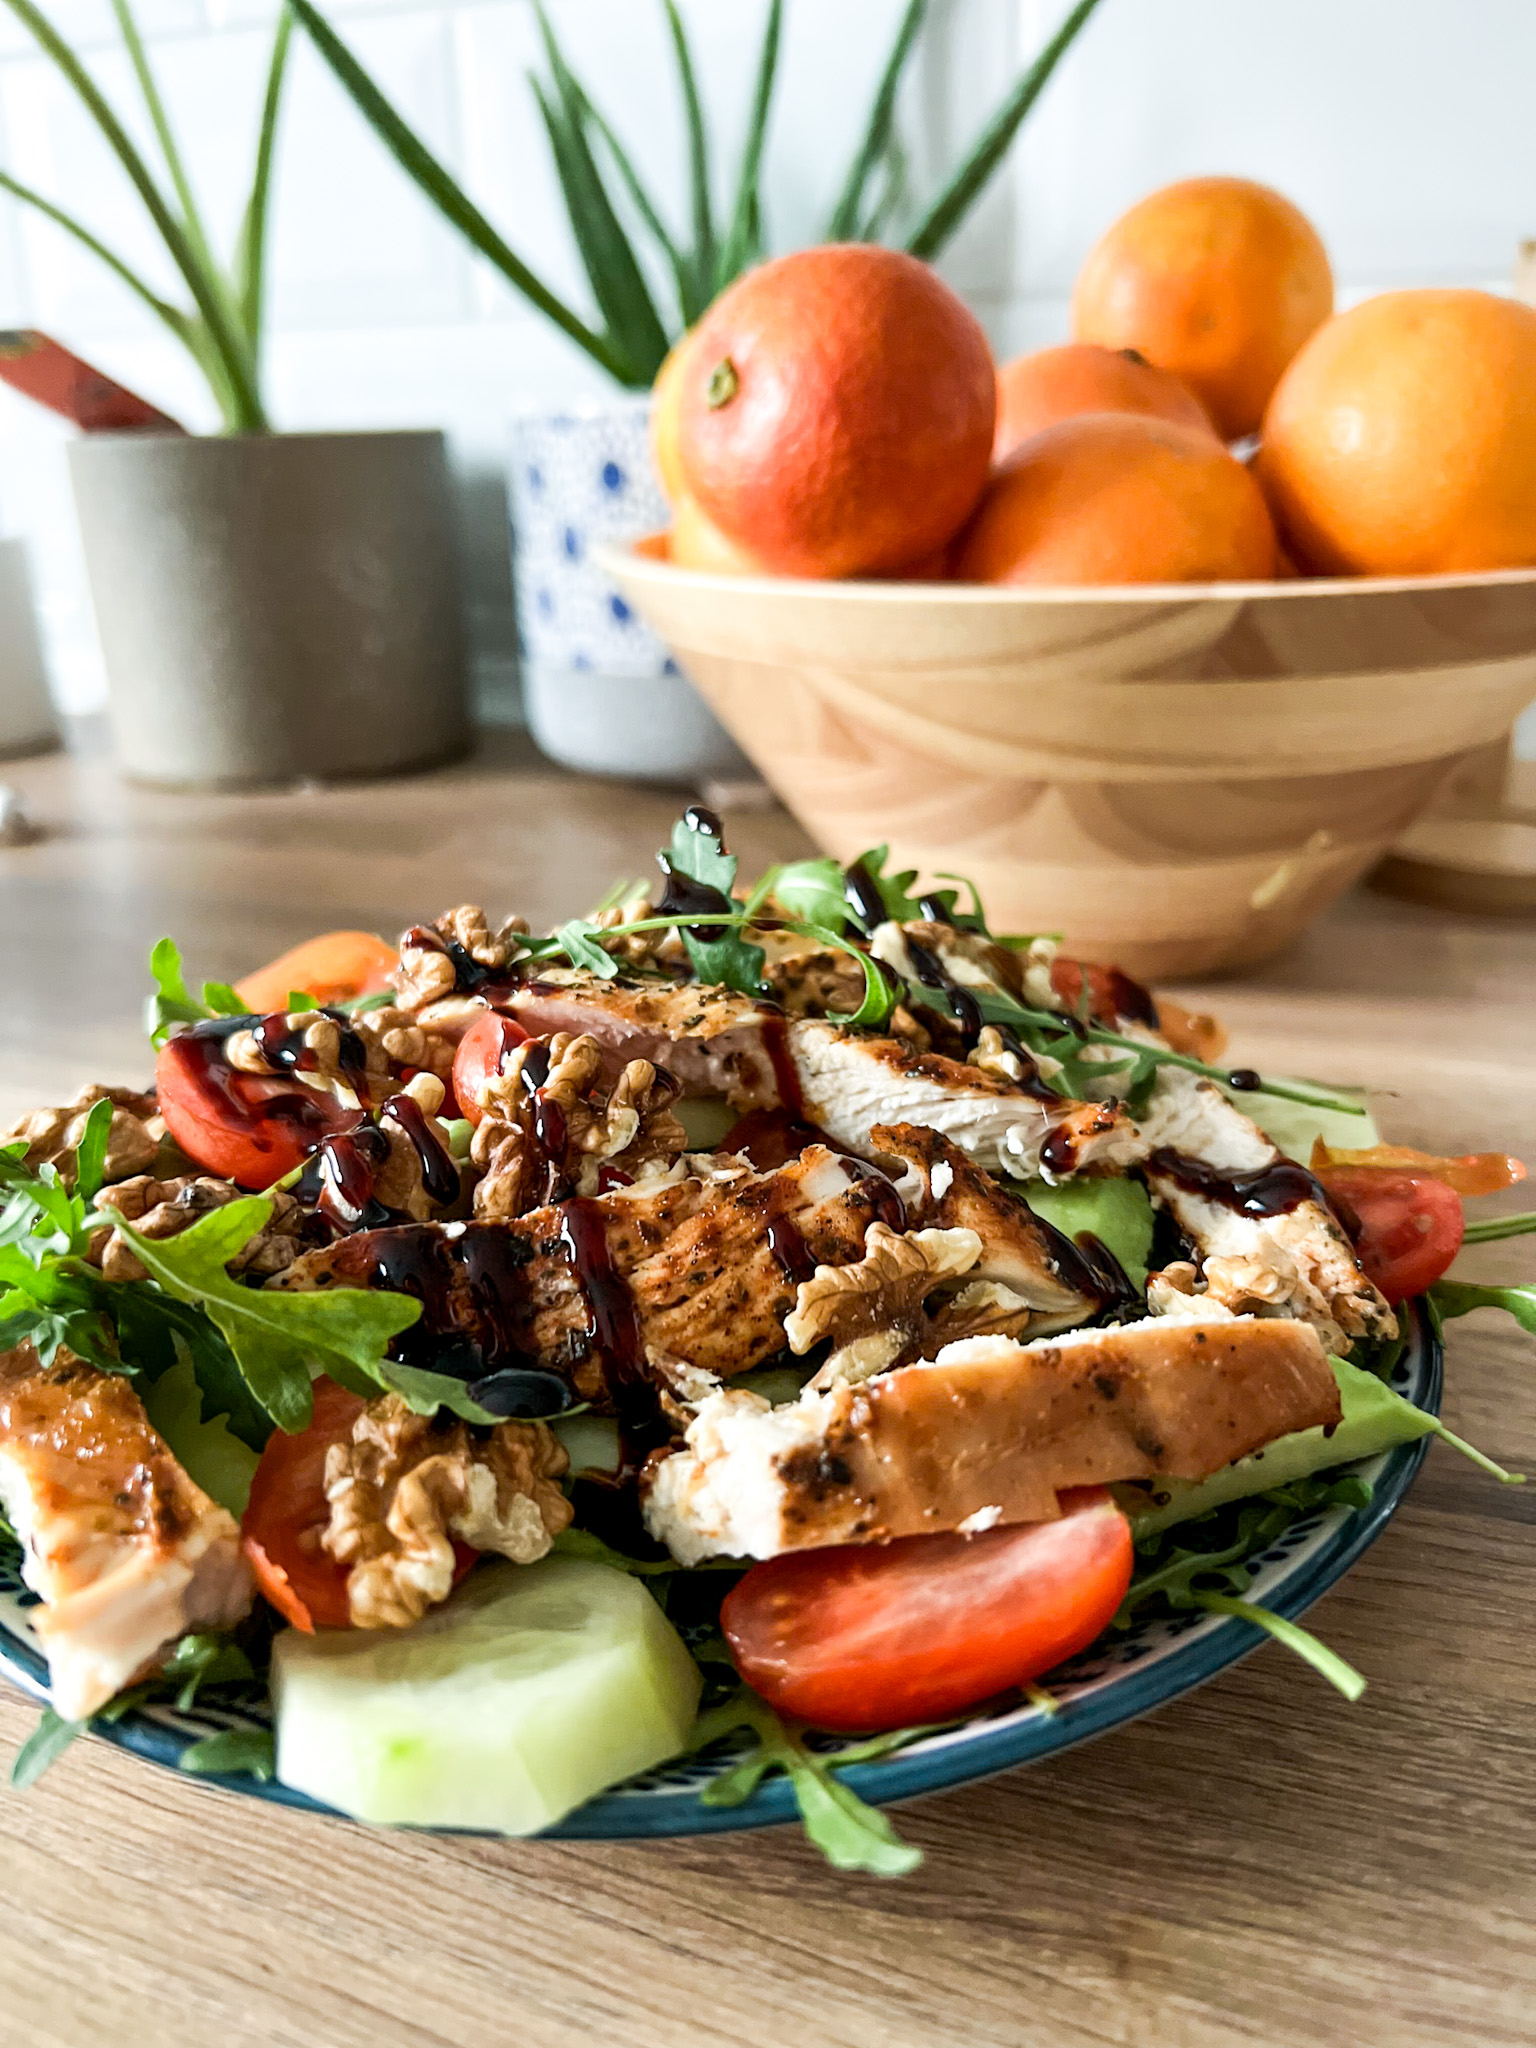
Let’s be honest: too often, salads get labeled as “diet food,” something plain, leafy, and… boring. But that couldn’t be further from the truth! A salad can be crunchy, colorful, filling, and seriously fun to put together – especially when you think of it as a choose-your-own-adventure meal.
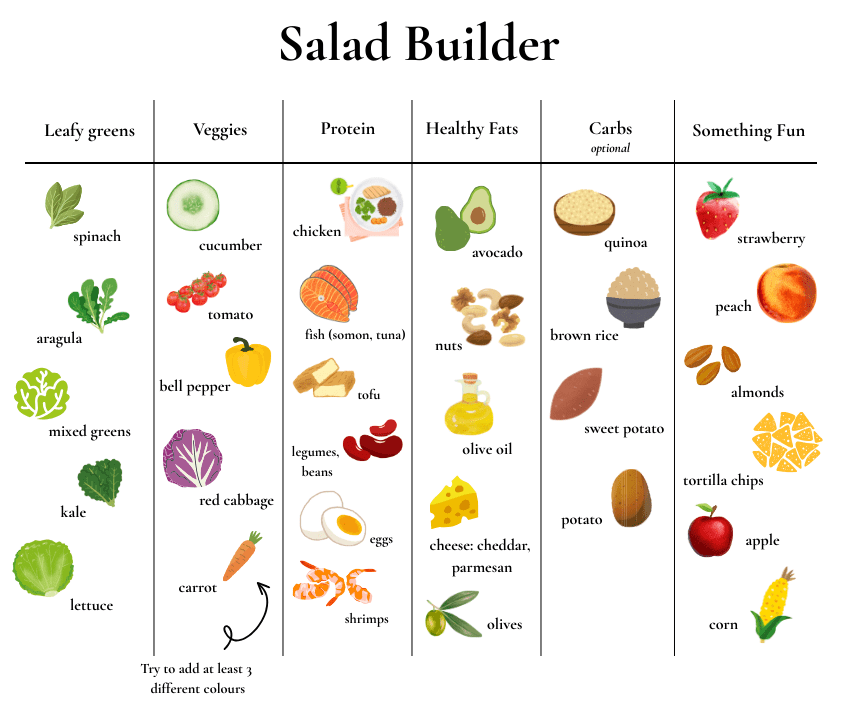
I’ve put together a Salad Builder Guide (see the image) so you can mix and match ingredients from each category. Think of it like a flavor playground:
🥬 Leafy greens – the base
Spinach, kale, arugula, romaine, mixed greens… Go leafy, go hearty, or even try shredded cabbage for an extra crunch.
🥦 The Veggie Boost
Cucumbers, bell peppers, cherry tomatoes, carrots, broccoli, zucchini ribbons… This is where the colors come in. The more colors on your plate, the more variety of nutrients you’re feeding your body.
🍗 The Protein Power
Grilled chicken, chickpeas, tofu, boiled eggs, lentils, salmon… Because no one wants to be hungry an hour later. Protein means staying powered.
🥑 The healthy fats
Avocado, nuts, olives, cheese… These add healthy fats and a velvety texture that makes your salad feel luxurious.
🍠 The carbs
Potatoes, brown rice, quinoa… These carbs help you to keep energy along the day.
🍎 Something fun
Apple slices, strawberries, blueberries, tortilla chips, nuts, corn… That satisfying bite? This is where you get it. Add something fun and unexpected to your salad, it will definitely change the game!
🥣 The Dressing
Olive oil & lemon, tahini drizzle, balsamic vinaigrette, Greek yogurt ranch… Light, zesty, or creamy—it ties everything together.
👉 The Rule: Choose one (or more!) from each category, toss them together, and voilà—your custom, nutrient-packed, flavor-bursting salad is ready.
💡 Pro tip: Don’t be afraid to experiment. Salads aren’t a punishment, they’re an opportunity to play with your food in the healthiest way possible.
Find here some of my favorite salad recipes
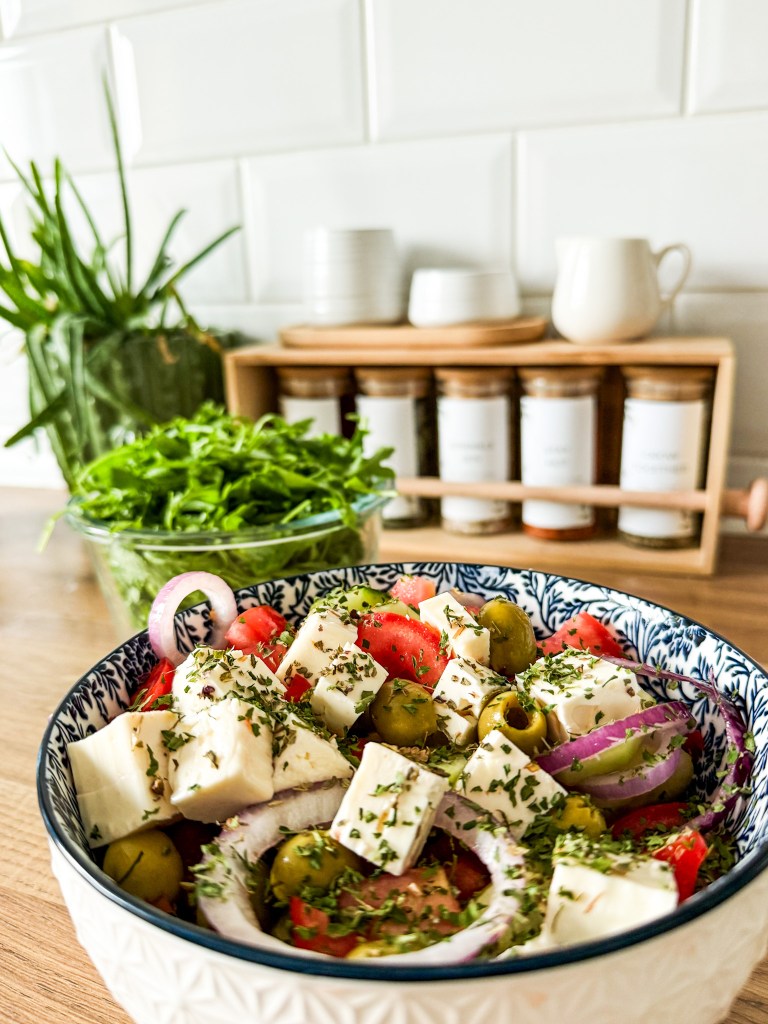
1. A classic Greek salad: fresh, simple, and full of flavor 🇬🇷
Sometimes, the best recipes are the ones that keep it simple. A Greek salad—also called horiatiki—is the perfect example. No fancy techniques, no heavy dressings, just fresh ingredients tossed together. It’s crisp, tangy, and makes you feel like you’re sitting by the sea in Greece. 🌊✨
So easy: 10 minutes from start to finish, no cooking required
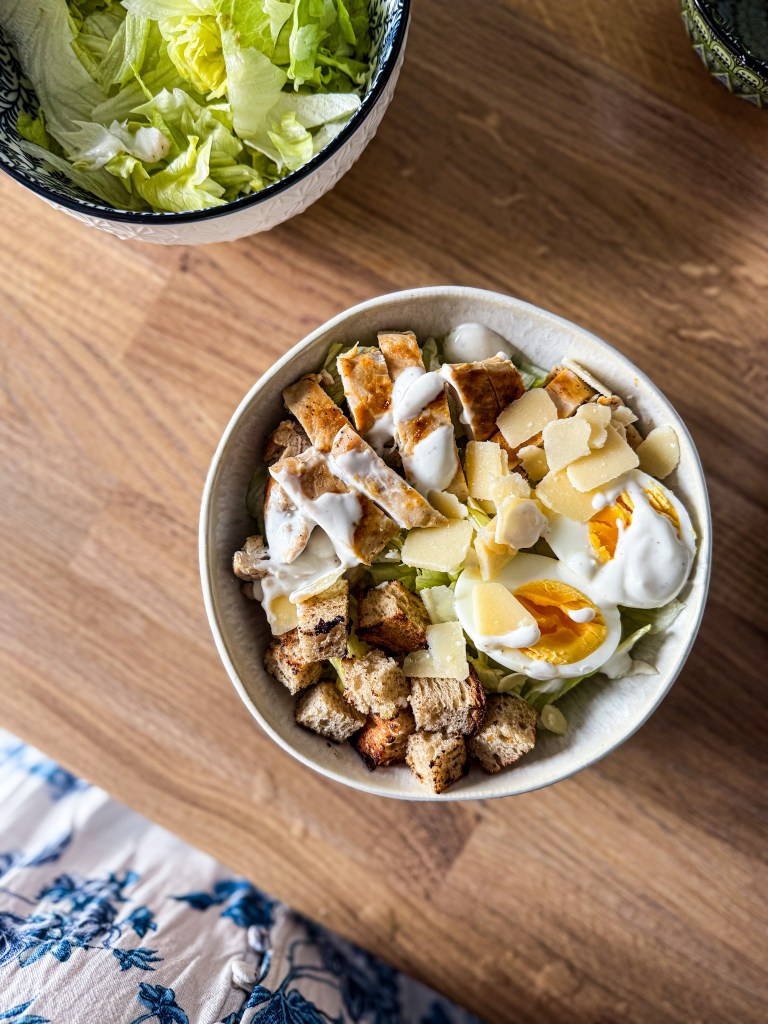
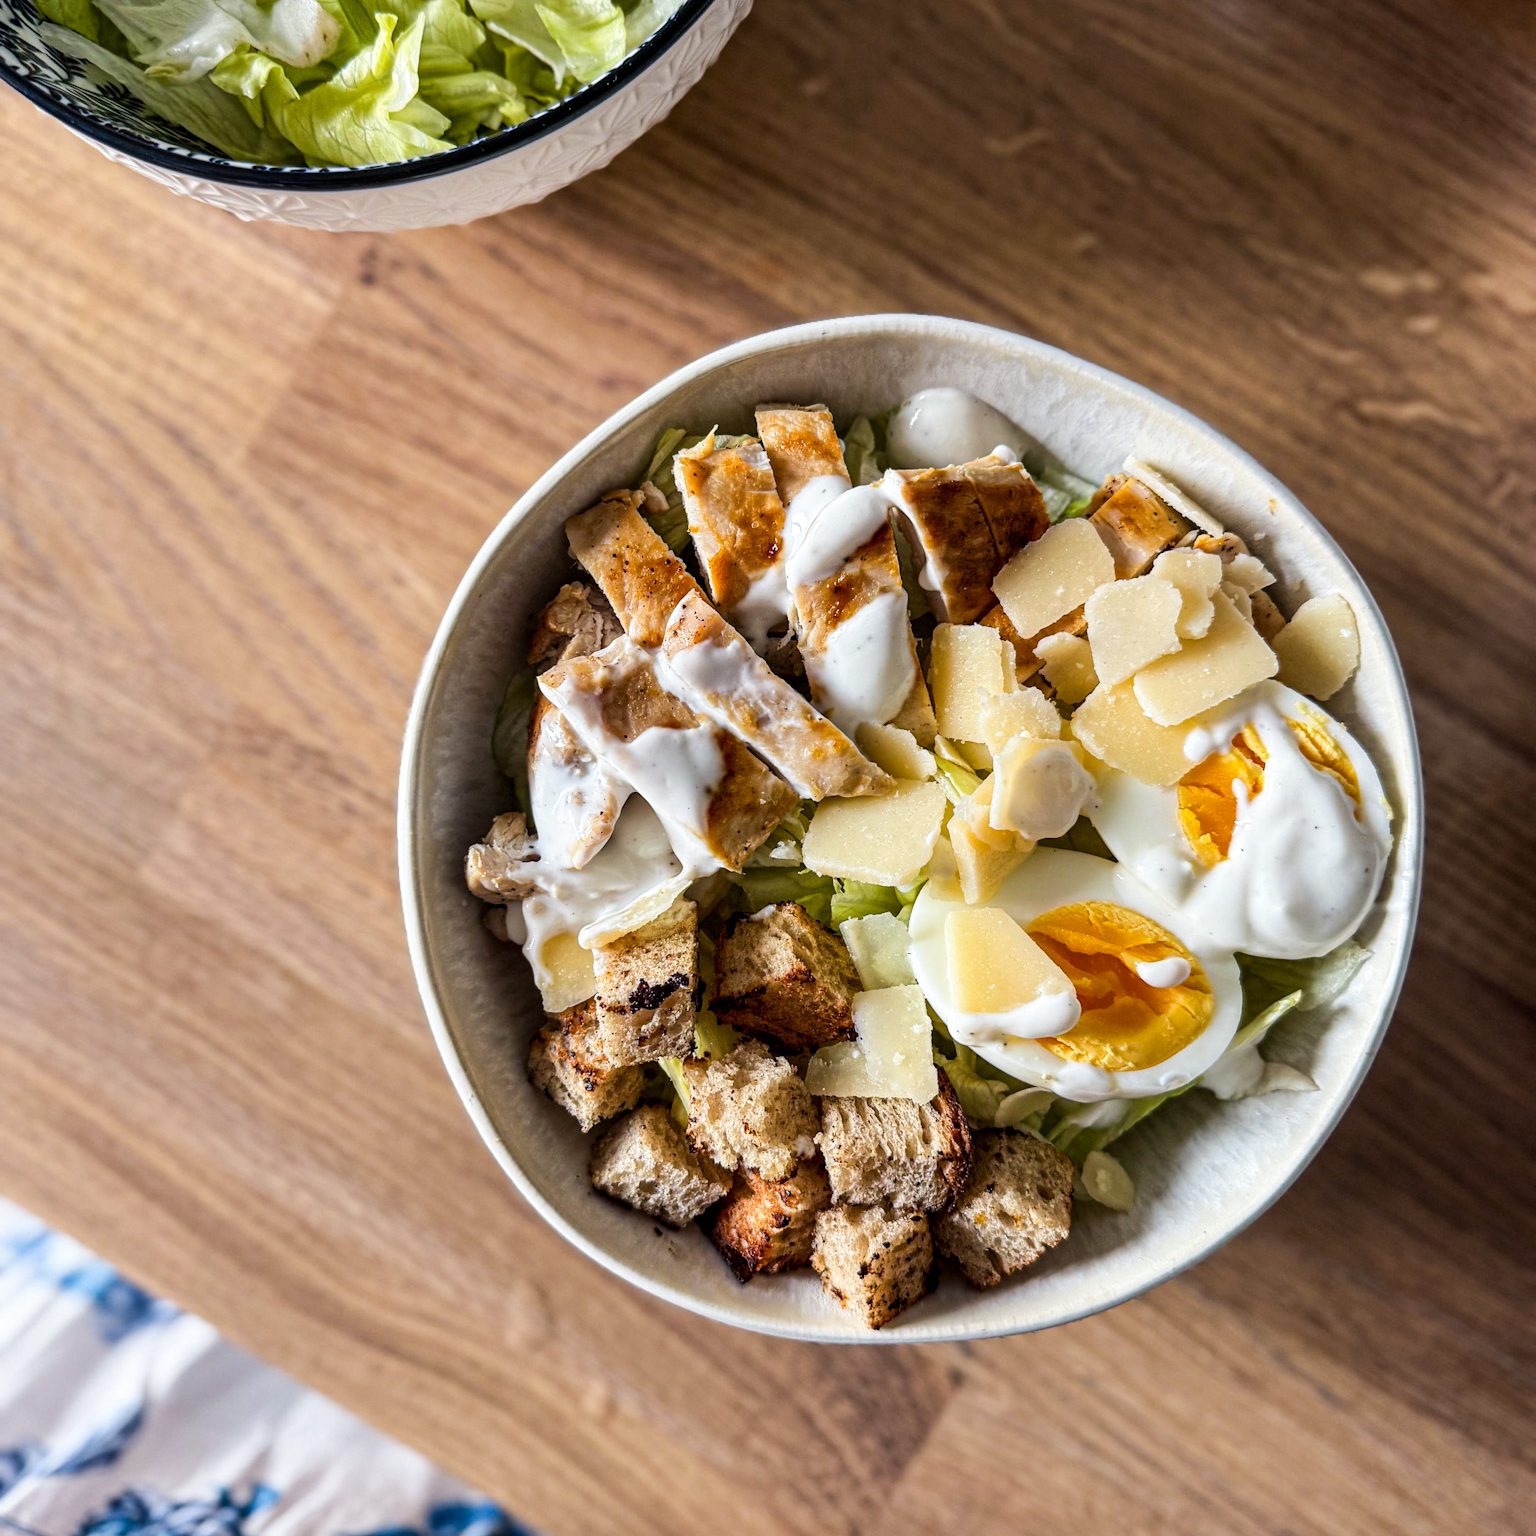
2. A healthier Caesar Salad: creamy, crunchy, and guilt-free 🥗
The Caesar salad is a classic—creamy dressing, crisp romaine, crunchy croutons, and salty Parmesan. But let’s be real: the traditional version can be a bit heavy. The good news? You can still enjoy all the flavor you love with a lighter, healthier twist. This version skips the excess without losing any of the yum factor.
🥬 What You’ll Need (serves 2–3)
For the salad:
2 hearts of romaine lettuce, chopped
1 cup whole-grain or sourdough croutons (homemade if you can!)
¼ cup freshly grated Parmesan
Choose your protein: grilled chicken, shrimp, or chickpeas
1 boiled egg
For the healthier Caesar dressing:
½ cup plain Greek yogurt (instead of mayo)
2 tablespoons extra virgin olive oil
1 tablespoon fresh lemon juice
1 teaspoon Dijon mustard
1 garlic clove, minced
Pinch of salt & pepper
🌟 Why It Works
Greek yogurt base: Creamy texture + extra protein, less saturated fat.
Olive oil & lemon: Heart-healthy fats and fresh flavor.
Whole-grain croutons: More fiber, more crunch, more staying power.
Customizable protein: Keep it light with chickpeas or satisfying with grilled chicken.
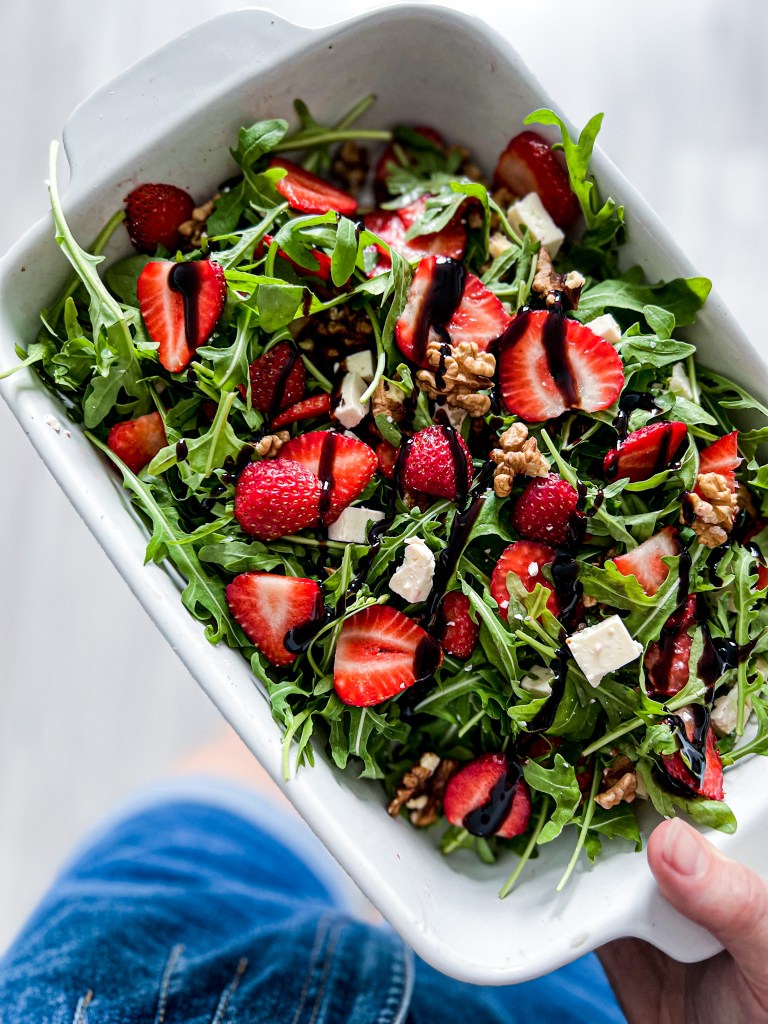
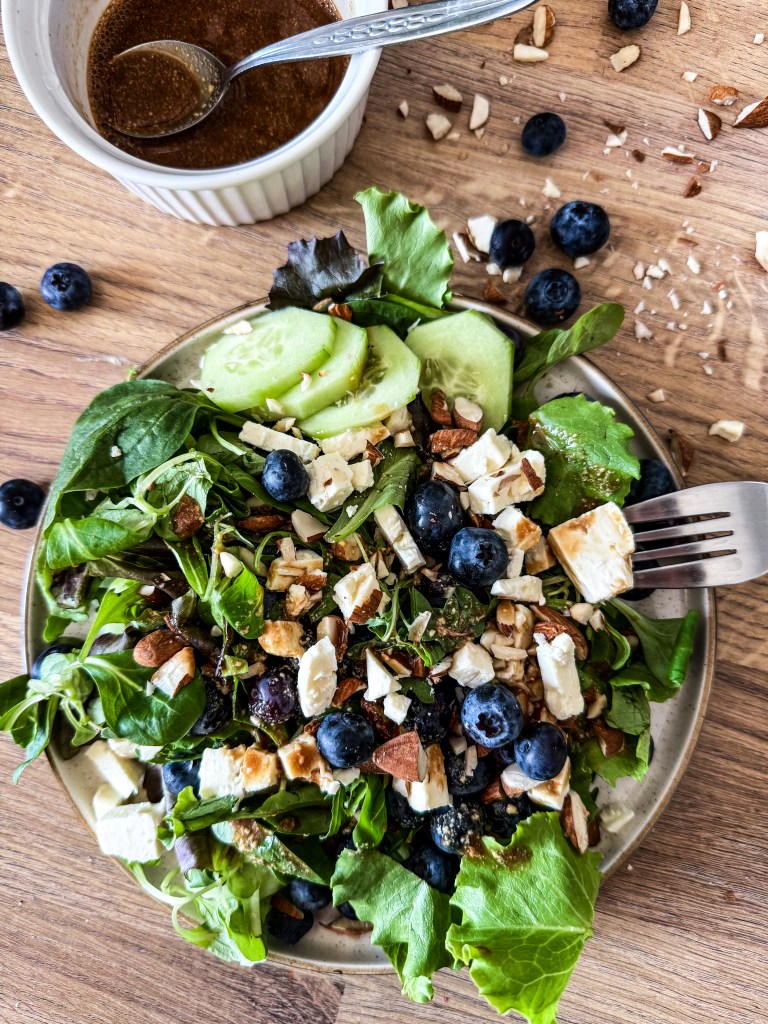
3. Fresh & Fruity Salads 🍓
Salads don’t always have to be leafy or savory—sometimes, the star of the show is fruit. Sweet, juicy, colorful, and refreshing, fruity salads are perfect for summer lunches, brunch tables, or even a light dessert. The best part? They’re endlessly customizable—you can mix and match based on what’s in season or what you’re craving.
🌟 Why It Works
Naturally sweet → No refined sugar needed.
Nutrient-packed → Vitamins, antioxidants, and fiber in every bite.
Versatile → Breakfast, side dish, or dessert.
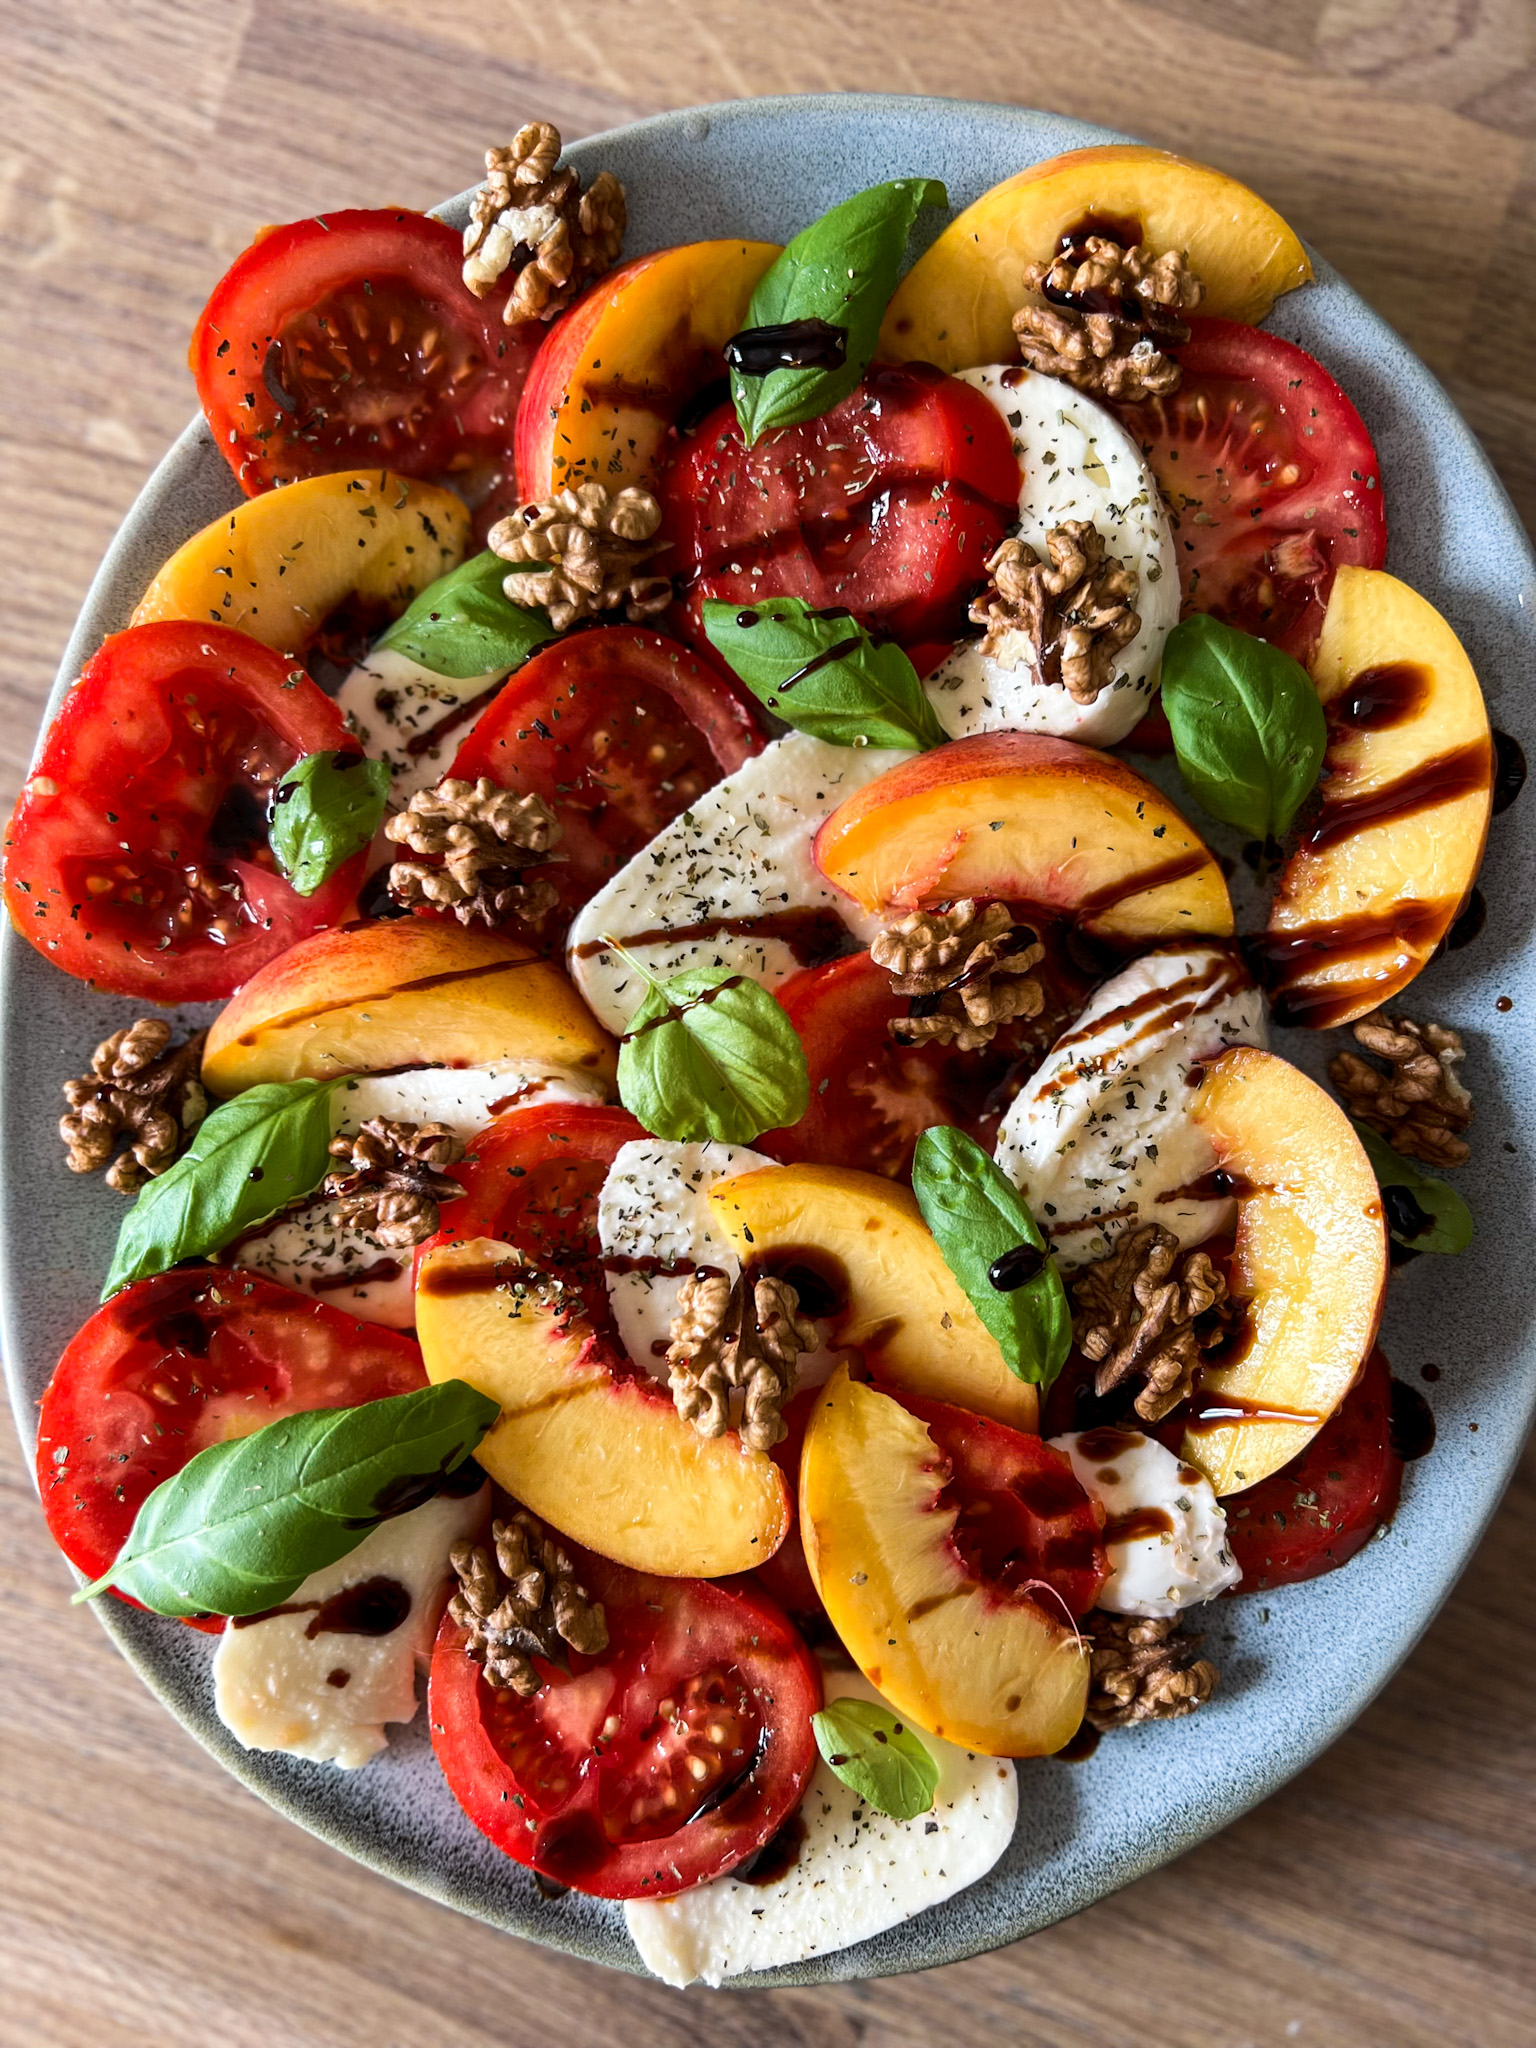
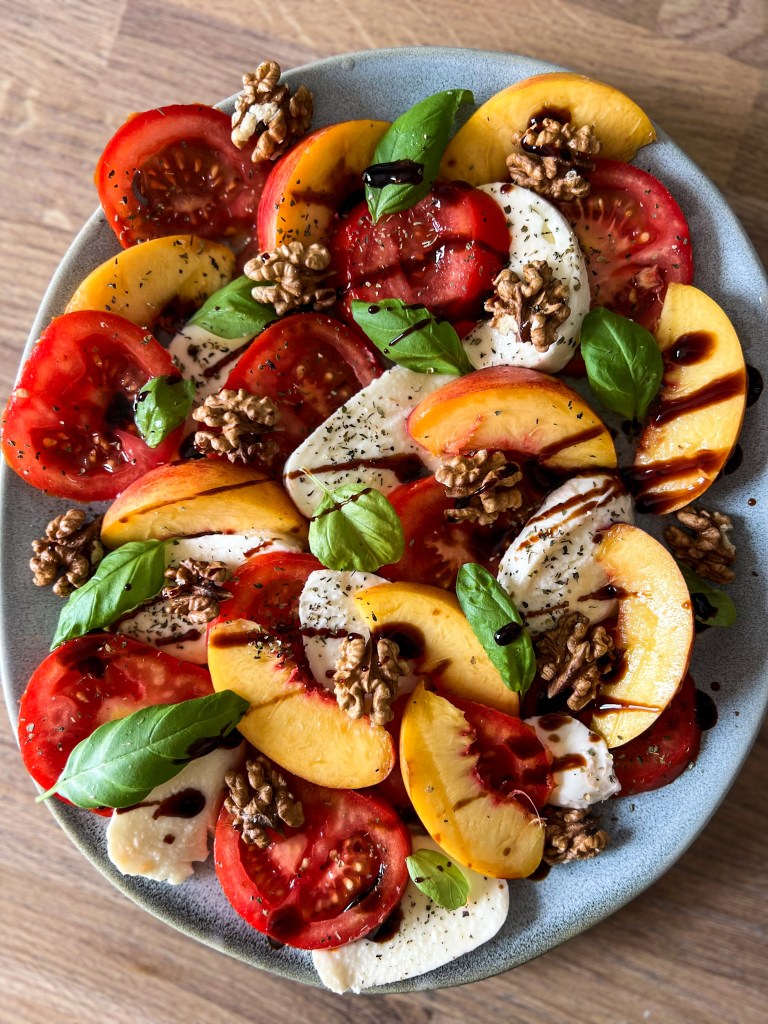
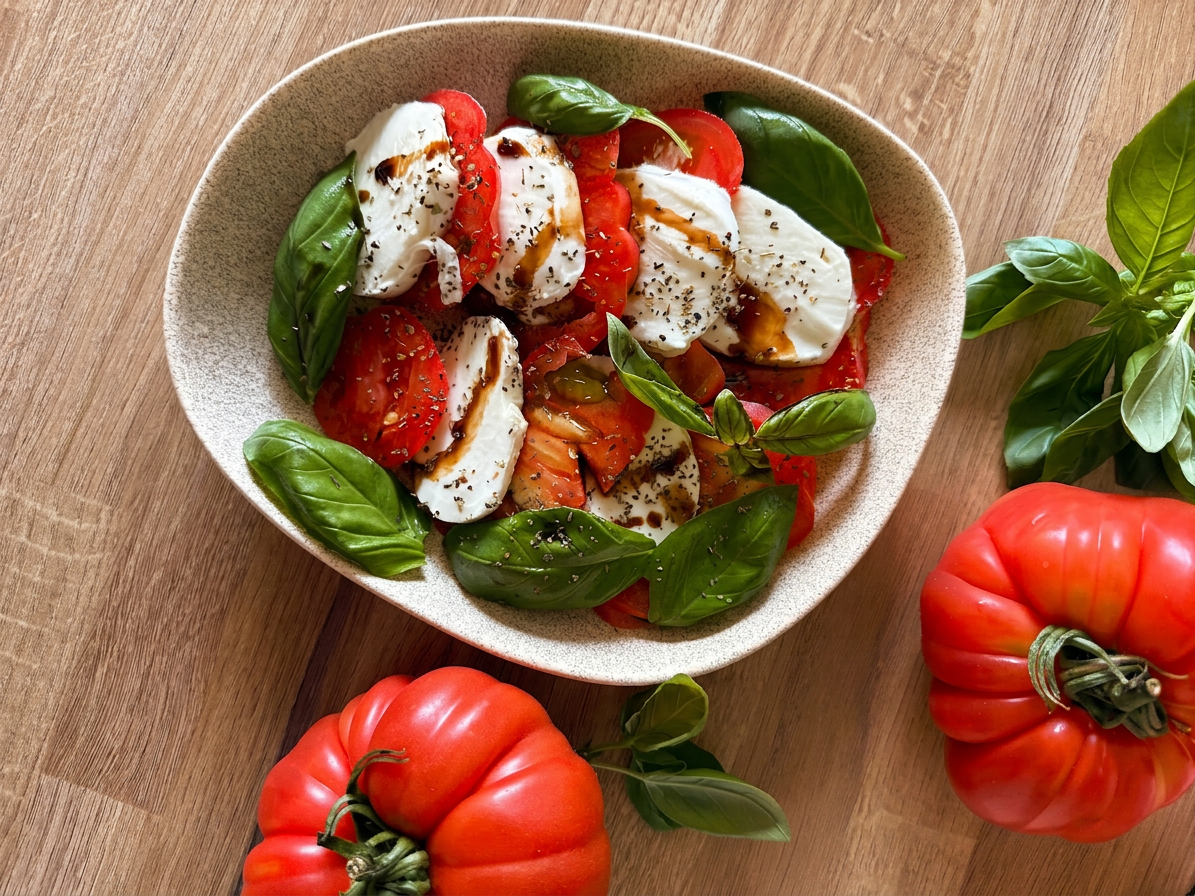
4. The Italian favorite – Caprese 🍅
Caprese salad is one of those simple Italian classics that just hits differently in the summer. Fresh tomatoes, creamy mozzarella, and basil—basically Italy on a plate, especially when everything’s ripe and juicy.
It’s the kind of thing you throw together in minutes, drizzle with balsamic oil, maybe a bit of salt, and suddenly you’ve got a light, refreshing meal that actually makes sense when it’s too hot to cook. Very Italian “keep it simple and enjoy life” energy—and honestly, it works every time for me.
Final thoughts
At the end of the day, salads don’t have to be boring. They’re one of the most versatile and colorful meals you can make. Next time you’re in the kitchen, think of your bowl as a canvas and let your creativity take over. Mix, match, crunch, drizzle… and most importantly, have fun with it. Your healthiest, tastiest salad is just a few choices away! 🌈 Let me know your favorite combination!
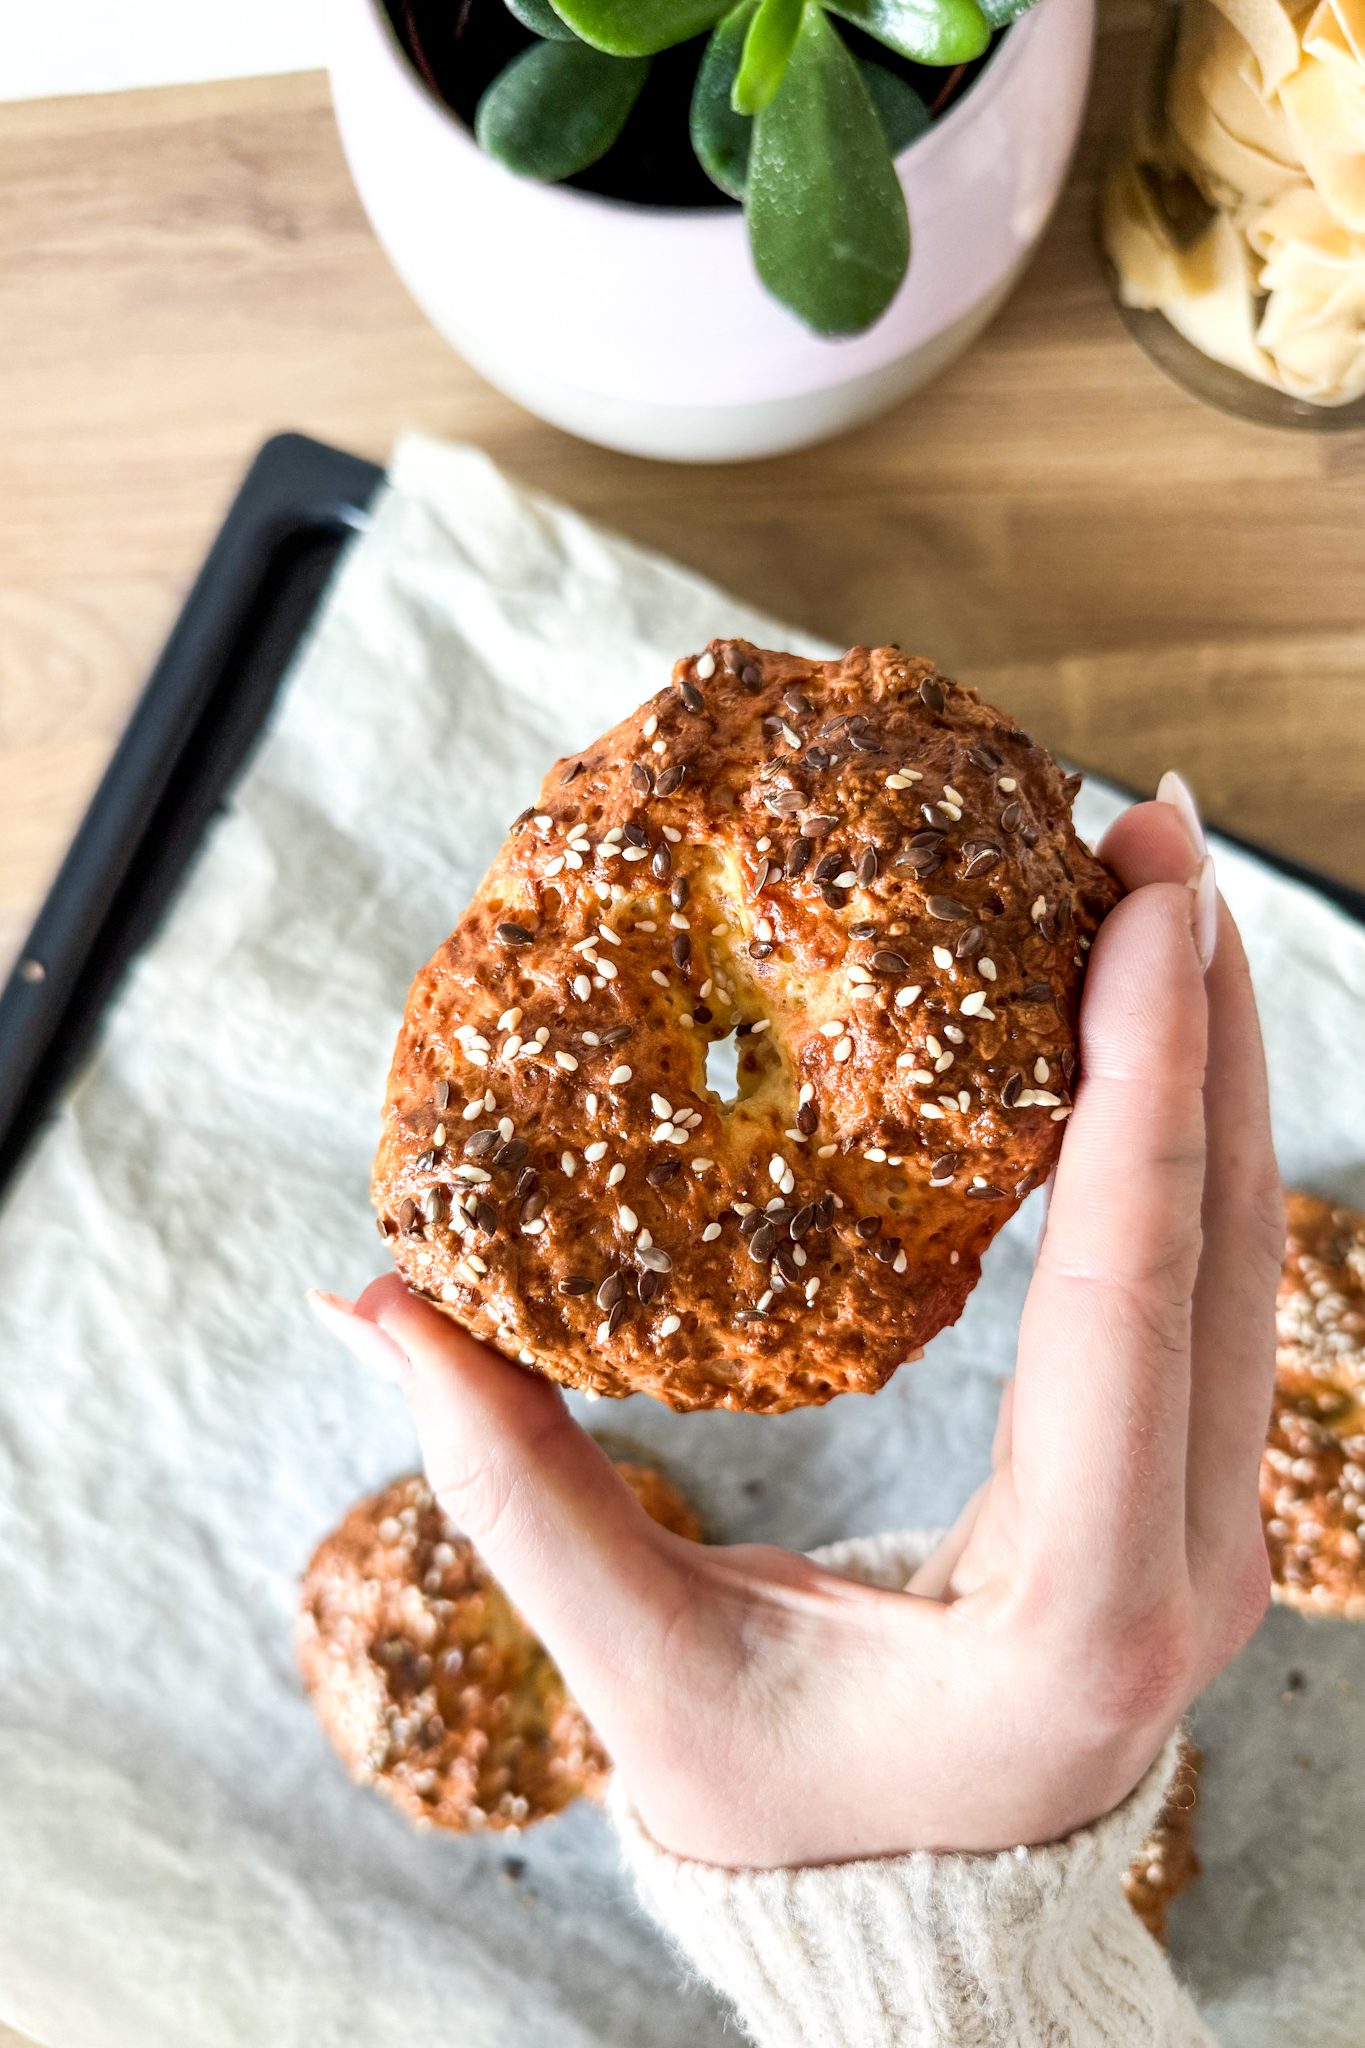
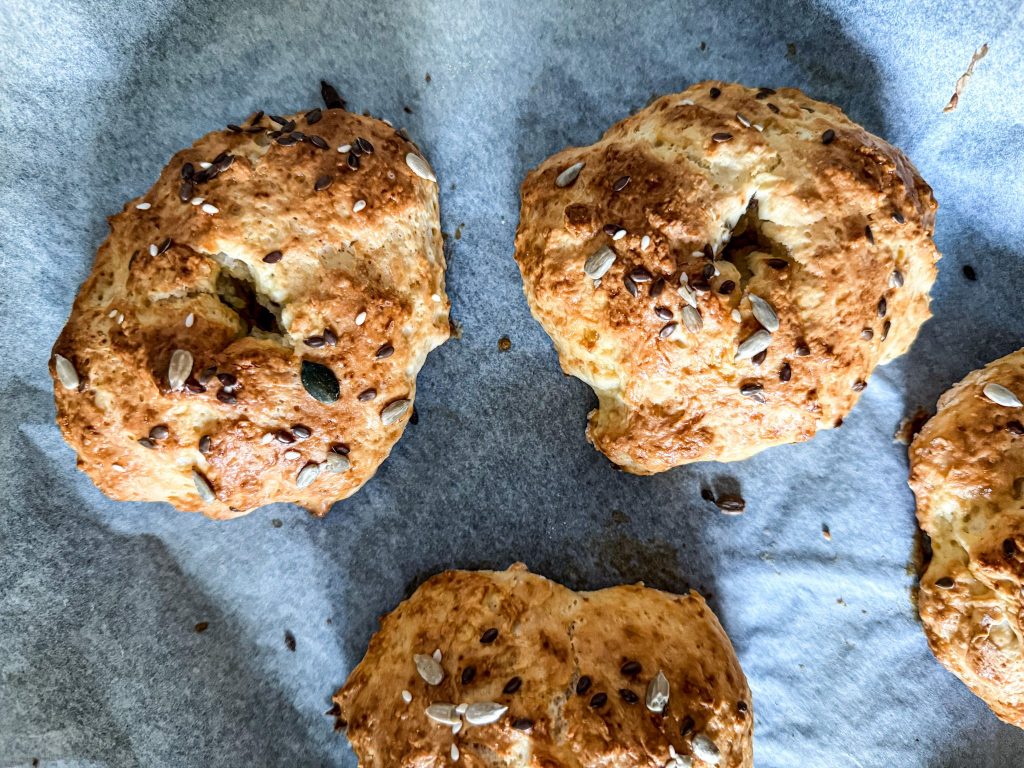
We all love bagels. They’re warm, chewy, and the perfect base for all your favorite toppings. But what if I told you that you could make them healthier and more protein-packed without sacrificing any of the deliciousness? Yup, it’s true! These homemade protein bagels are about to become your new best friend. Perfect for breakfast, brunch with the girls, lunch, or a post-workout snack with all the goodness you need to power through your day.
Why You’ll Love These Protein Bagels:
Protein-Packed Goodness: Each bagel is loaded with protein to keep you feeling full and fueled.
Quick & Simple: Just a few ingredients and minimal prep time. No fancy techniques here!
Customizable: Add your favorite toppings or mix-ins for extra flavor.
Preheat your oven to 190°C (375°F) and line a baking sheet with parchment paper.
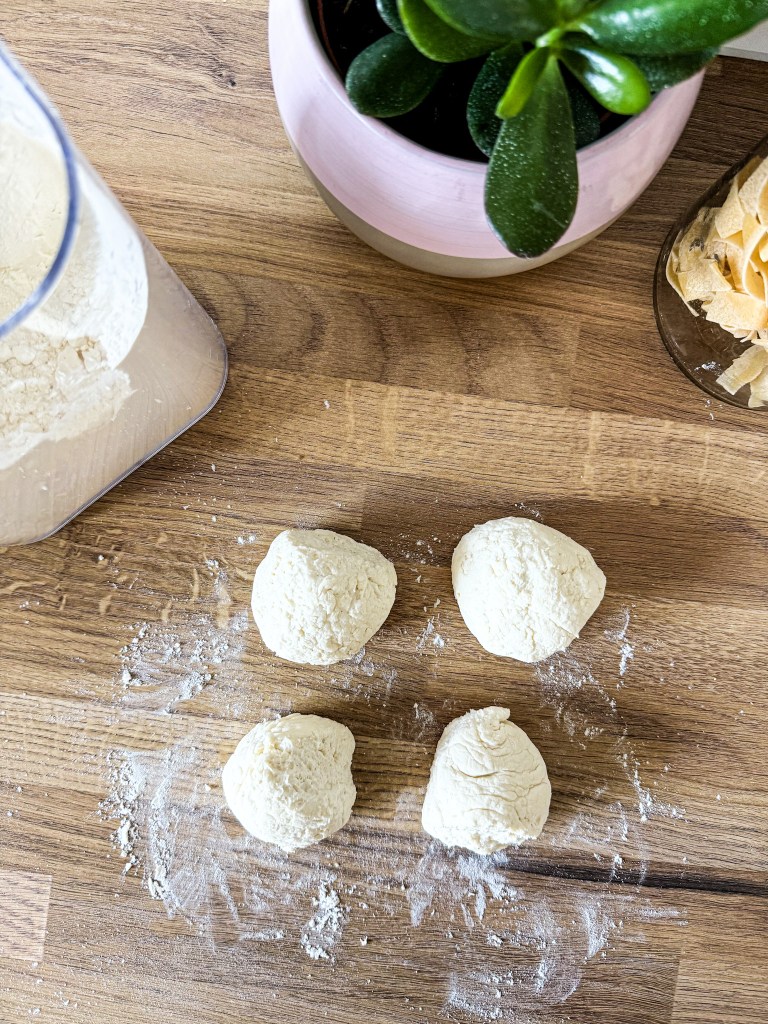
In a medium bowl, combine Greek yogurt, flour, salt and baking powder. Mix until a dough forms.
Lightly flour your surface and knead the dough for about 2 minutes until smooth. Divide into 4 equal portions and shape each piece into a bagel.
Brush each bagel with a beaten egg and sprinkle with your favorite toppings.
Bake for 20–22 minutes or until golden brown. Let cool slightly before digging in!
Tips & Variations:
Add More Protein: Want extra protein? Swap out a portion of the flour for more protein powder or add chia seeds to the dough.
Sweet or Savory: Try adding cinnamon and raisins for a sweet twist or garlic and herbs for something savory.
Serving Variations:
These protein bagels are super versatile! Here are some delicious ways to enjoy them:
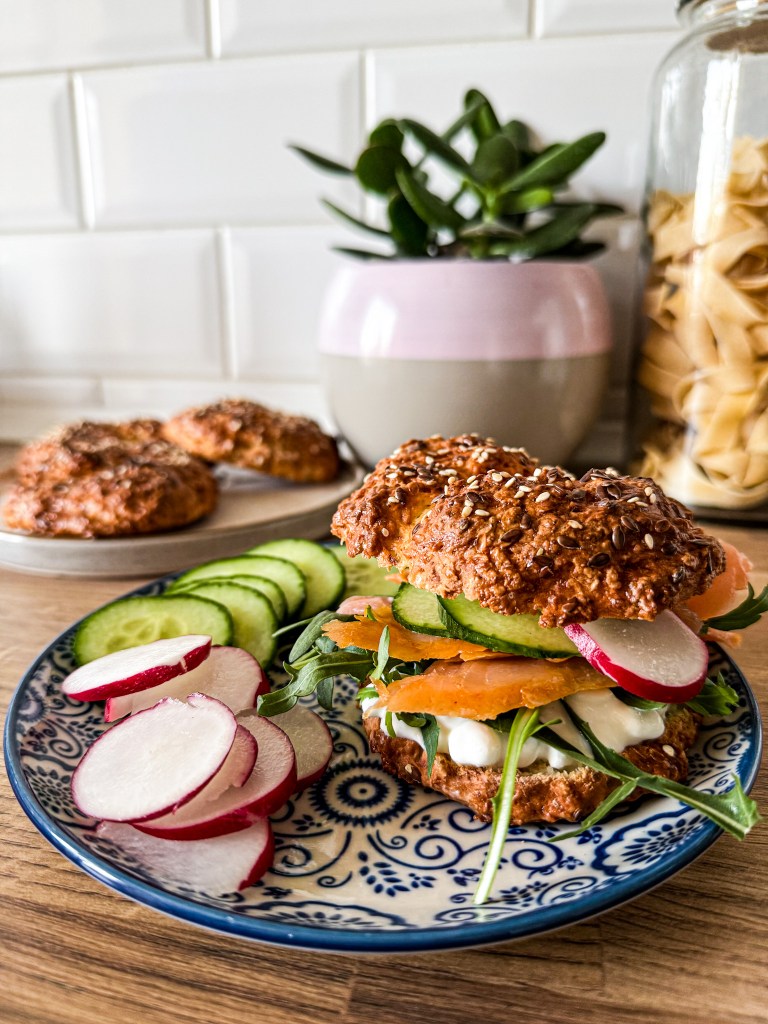
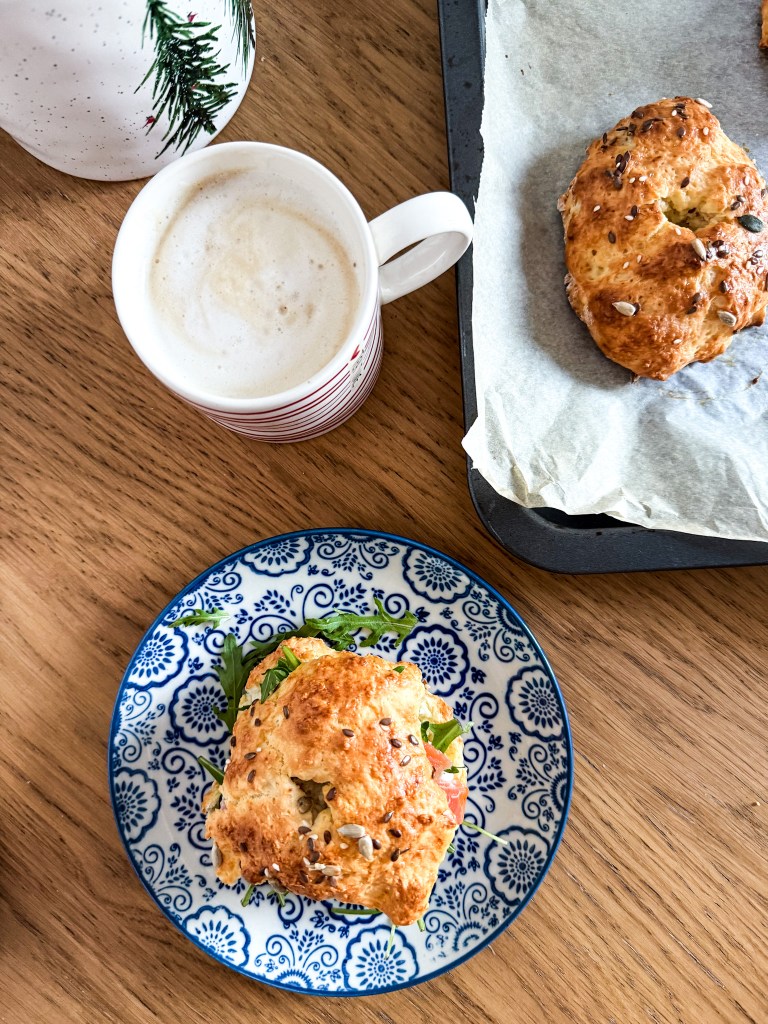
Classic & Creamy: Spread with cream cheese and top with smoked salmon and avocado.
Veggie Delight: Add avocado slices, tomato, cucumber, and lettuce.
Protein Boost: Pair with scrambled eggs or a fried egg with fresh spinach.
Sweet & Nutty: Try almond butter with sliced bananas and a drizzle of honey.
Storage:
Store in an airtight container for up to 3 days or freeze for longer freshness. Just pop them in the toaster when you’re ready to enjoy!
Give these protein bagels a try, and you’ll be meal-prepping like a pro! Whether you’re rushing out the door or sitting down for a relaxed breakfast, these bagels have you covered.
Have any fun topping ideas or ways to customize this recipe? Let me know in the comments below!
Watch the Recipe Video!
Want to see how it’s done step-by-step? Check out the video where I walk you through making these protein bagels from start to finish.
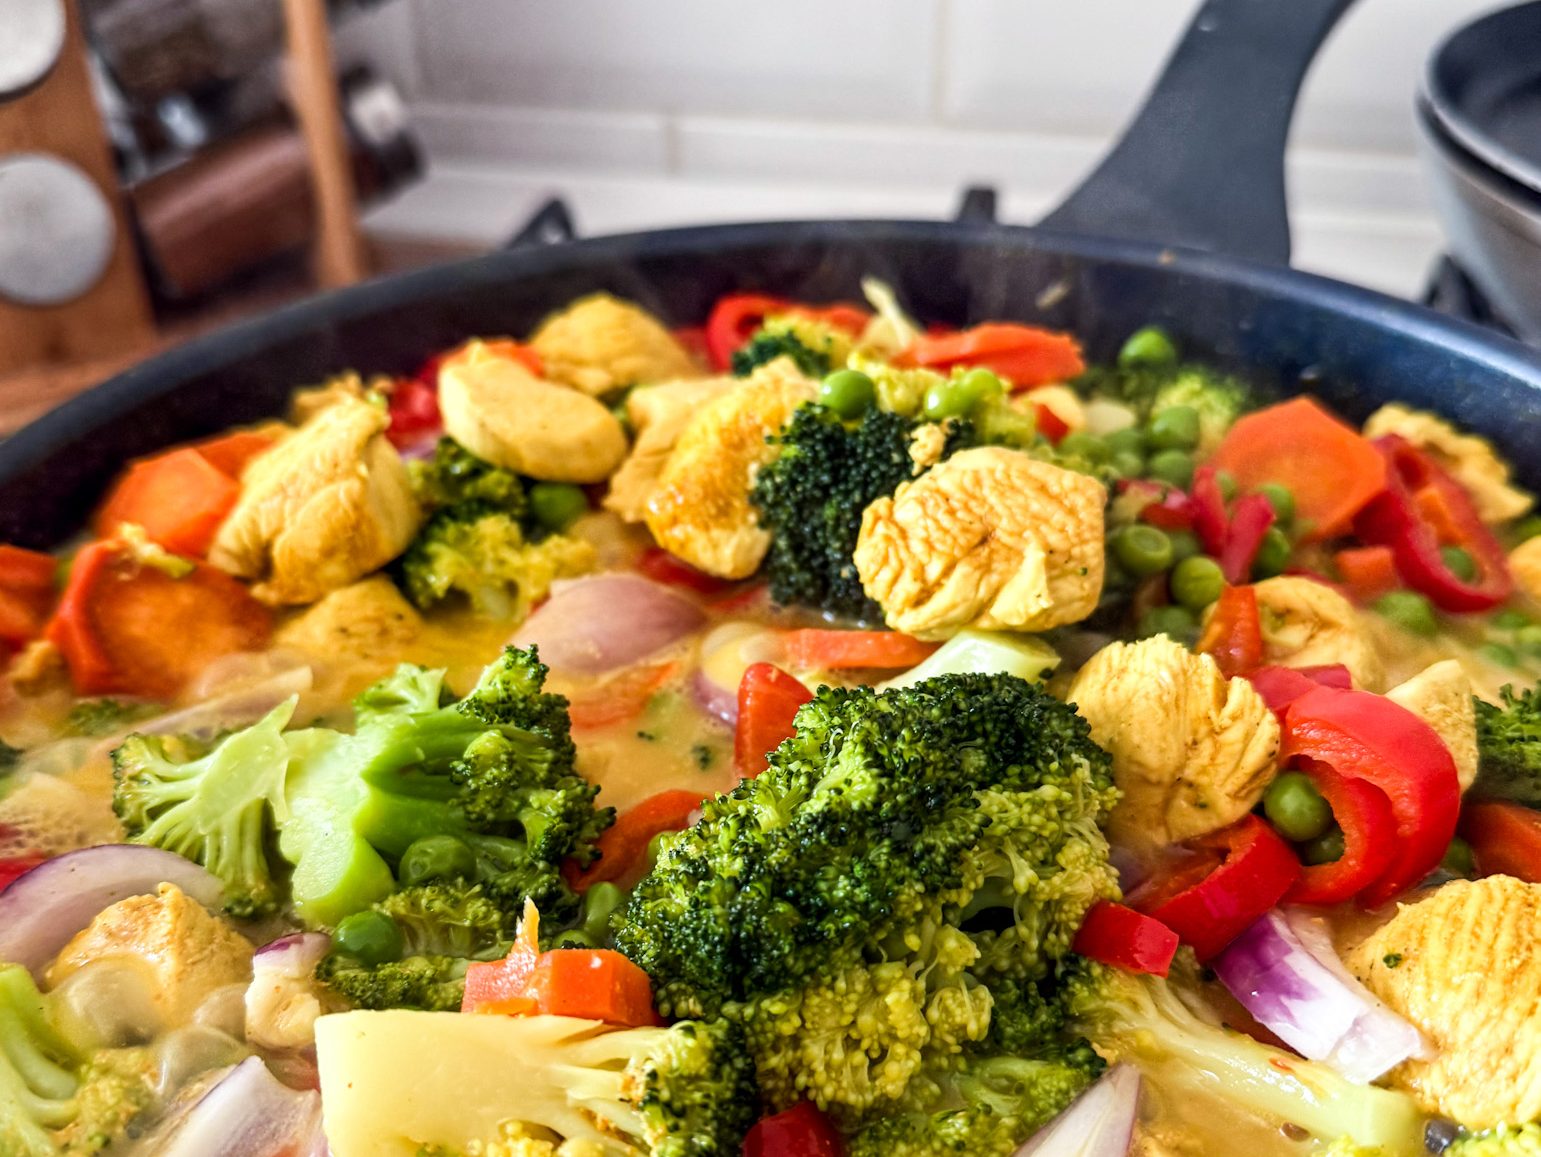
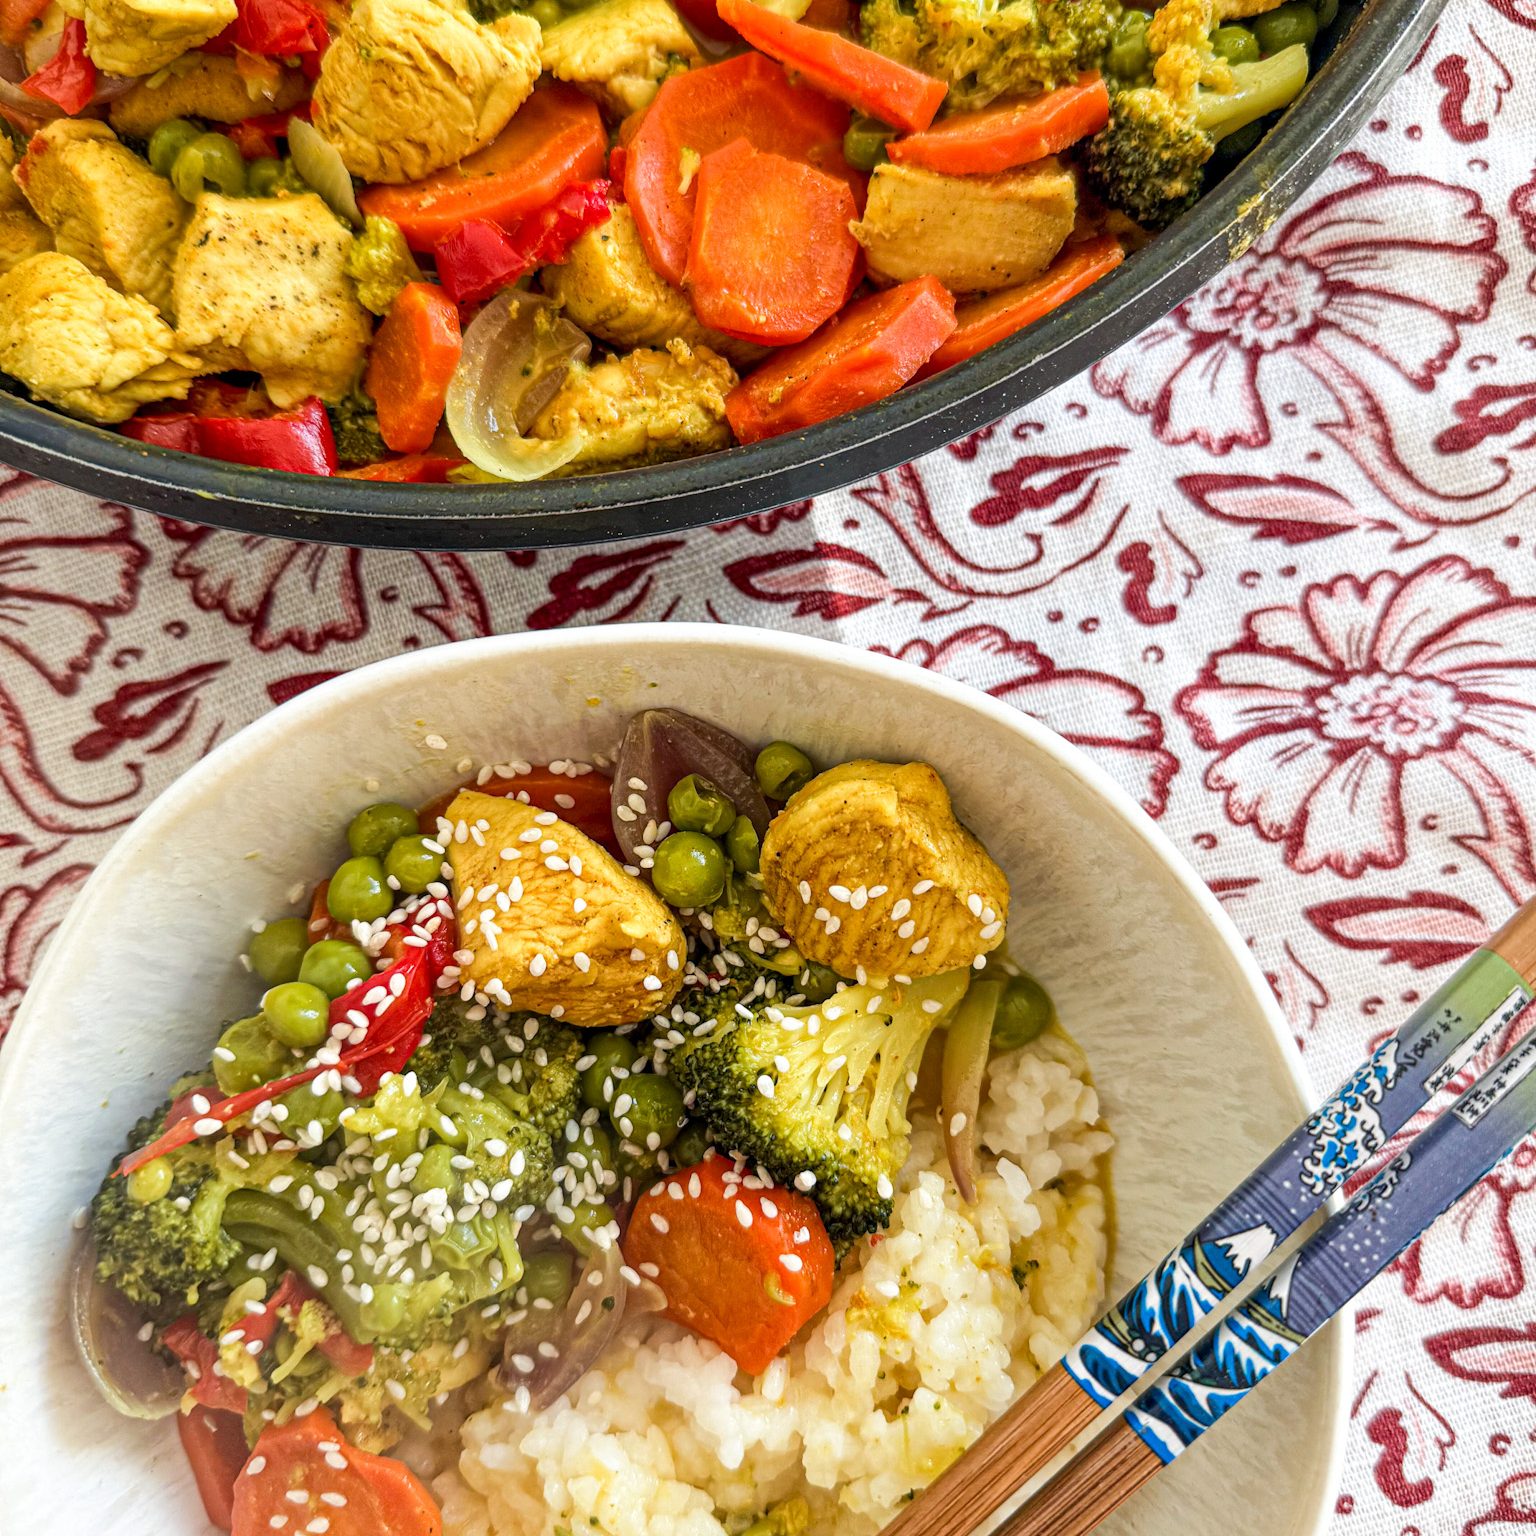
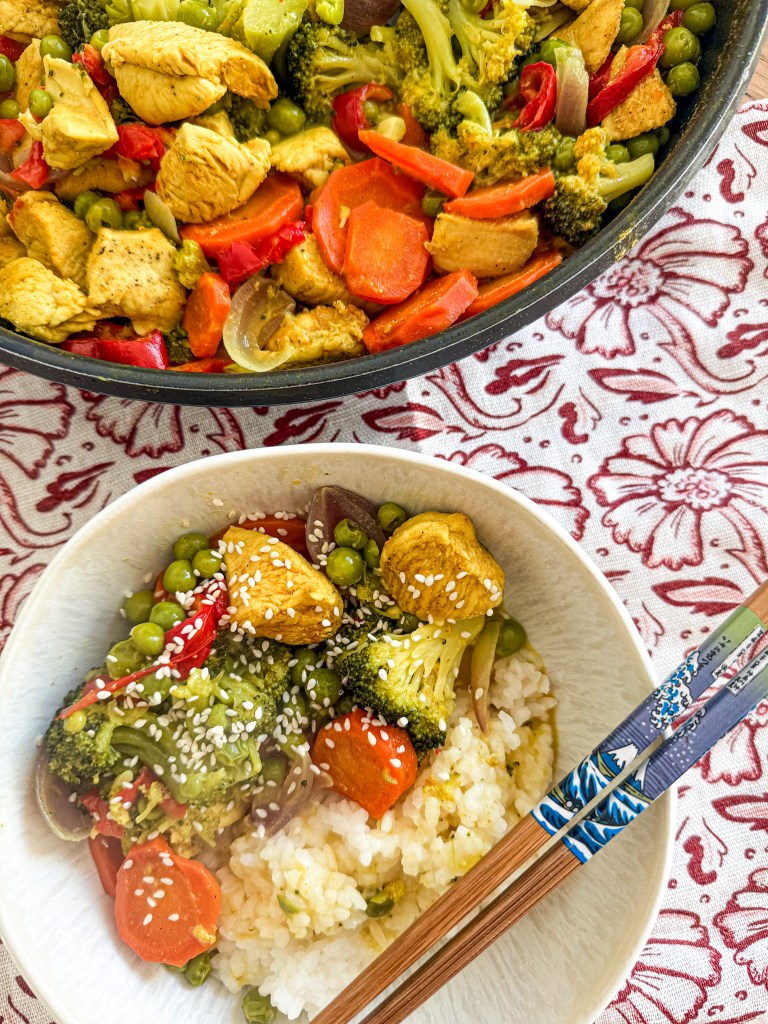
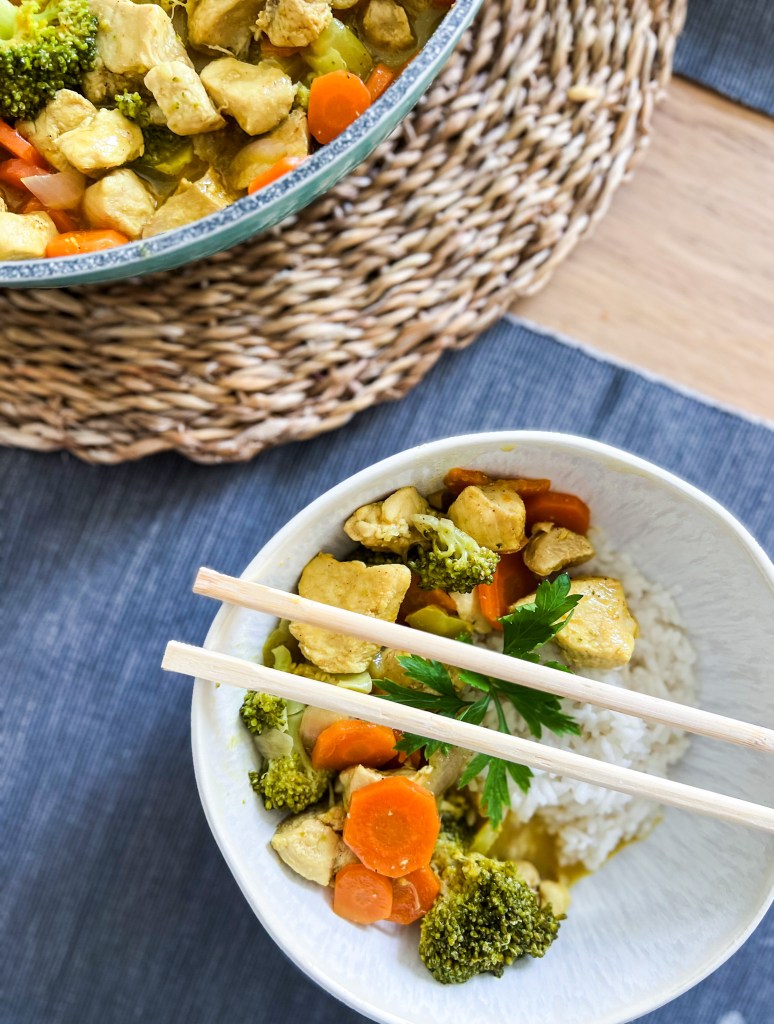
Whether you’re craving a rich, aromatic chicken curry or seeking a plant-based alternative, this chicken curry recipe will hit the spot! It’s packed with veggies and has creamy sauce, and I’ve included vegan variations to cater to everyone. Get ready to indulge in a dish that’s hearty, flavorful, and easy to make. Let’s dive in!
Ingredients for Chicken Curry:
For the Curry Base:
500g chicken breast
400 ml coconut milk ( or cream to a richer version)
lots of vegetables: broccoli, onion, carrot, pepper, peas
1 tbsp of ginger, grated
1 tbsp curry
1 tbsp coriander
½ tsp chili powder (optional)
salt, pepper
coconut oil / olive oil
Instructions for Chicken Curry:
Prepare the Ingredients: Begin by chopping the chicken into small chunks, then the veggies into small pieces.
Cook the Chicken (or Vegan Alternative): Add the chicken pieces to the pot, stirring to coat them with the spices. Season with the spices: salt, pepper, curry powder, chili and coriander, then cook for 6-7 minutes, until the chicken is browned on all sides. If you’re making the vegan version, add your protein choice (tofu, chickpeas, or tempeh) and stir gently.
Add the coconut milk and chicken broth to the pan.
Add the chopped vegetables to the pan and cook for another 5 minutes. Then, pour in the chicken or vegetable broth, stirring to combine. Bring the mixture to a simmer.
Once the curry is simmering, cover the pan and let it cook for about 20-25 minutes, allowing the flavors to meld together and the chicken (or tofu) to cook through. If using tofu or chickpeas, a shorter cooking time of 10-15 minutes will suffice.
Taste check: add more the spice if needed: Stir in the minced garlic, grated ginger, and more curry powder or chili. Cook for another minute, stirring frequently to avoid burning.
Garnish & Serve: Remove the curry from the heat. If desired, garnish with fresh cilantro, sesame seeds or a squeeze of lime juice. Serve with steamed rice or naan bread for a complete meal.
Vegan Variations:
If you’re opting for a vegan version of this curry, the good news is that there are many ways to replace chicken while keeping all the flavor! Here are some great alternatives:
Tofu: Firm tofu works best in this recipe. Press the tofu to remove excess water, cut it into cubes, and either sauté it in a bit of oil until crispy or add it directly to the curry. It will soak up all the flavors and become beautifully soft in the curry.
Chickpeas: A can of drained and rinsed chickpeas can be added in place of chicken. They add texture and a great protein punch to the curry. Let them simmer in the sauce for a rich, earthy flavor.
Tempeh: Tempeh is another wonderful protein option that works great in curry.
Serving Suggestions:
This curry pairs wonderfully with:
Basmati Rice: Light and fluffy rice absorbs the sauce beautifully.
Naan Bread: Perfect for scooping up curry sauce.
This chicken curry recipe is incredibly adaptable, allowing you to customize it based on dietary preferences. Whether you’re a meat eater or vegan, there’s a version for everyone, and the flavors are nothing short of comforting. Serve it up for a weeknight dinner, a cozy weekend meal, or when you’re hosting guests — it’s sure to impress!
Enjoy the warmth and deliciousness of this curry, and feel free to experiment with different proteins and spices to make it your own.
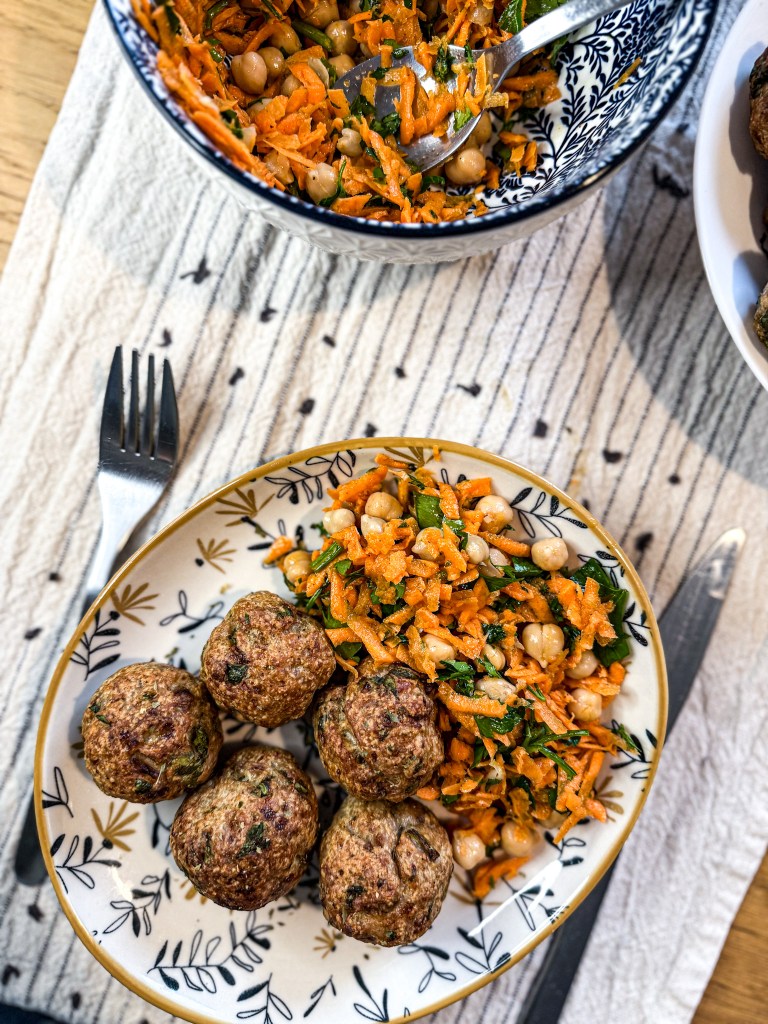
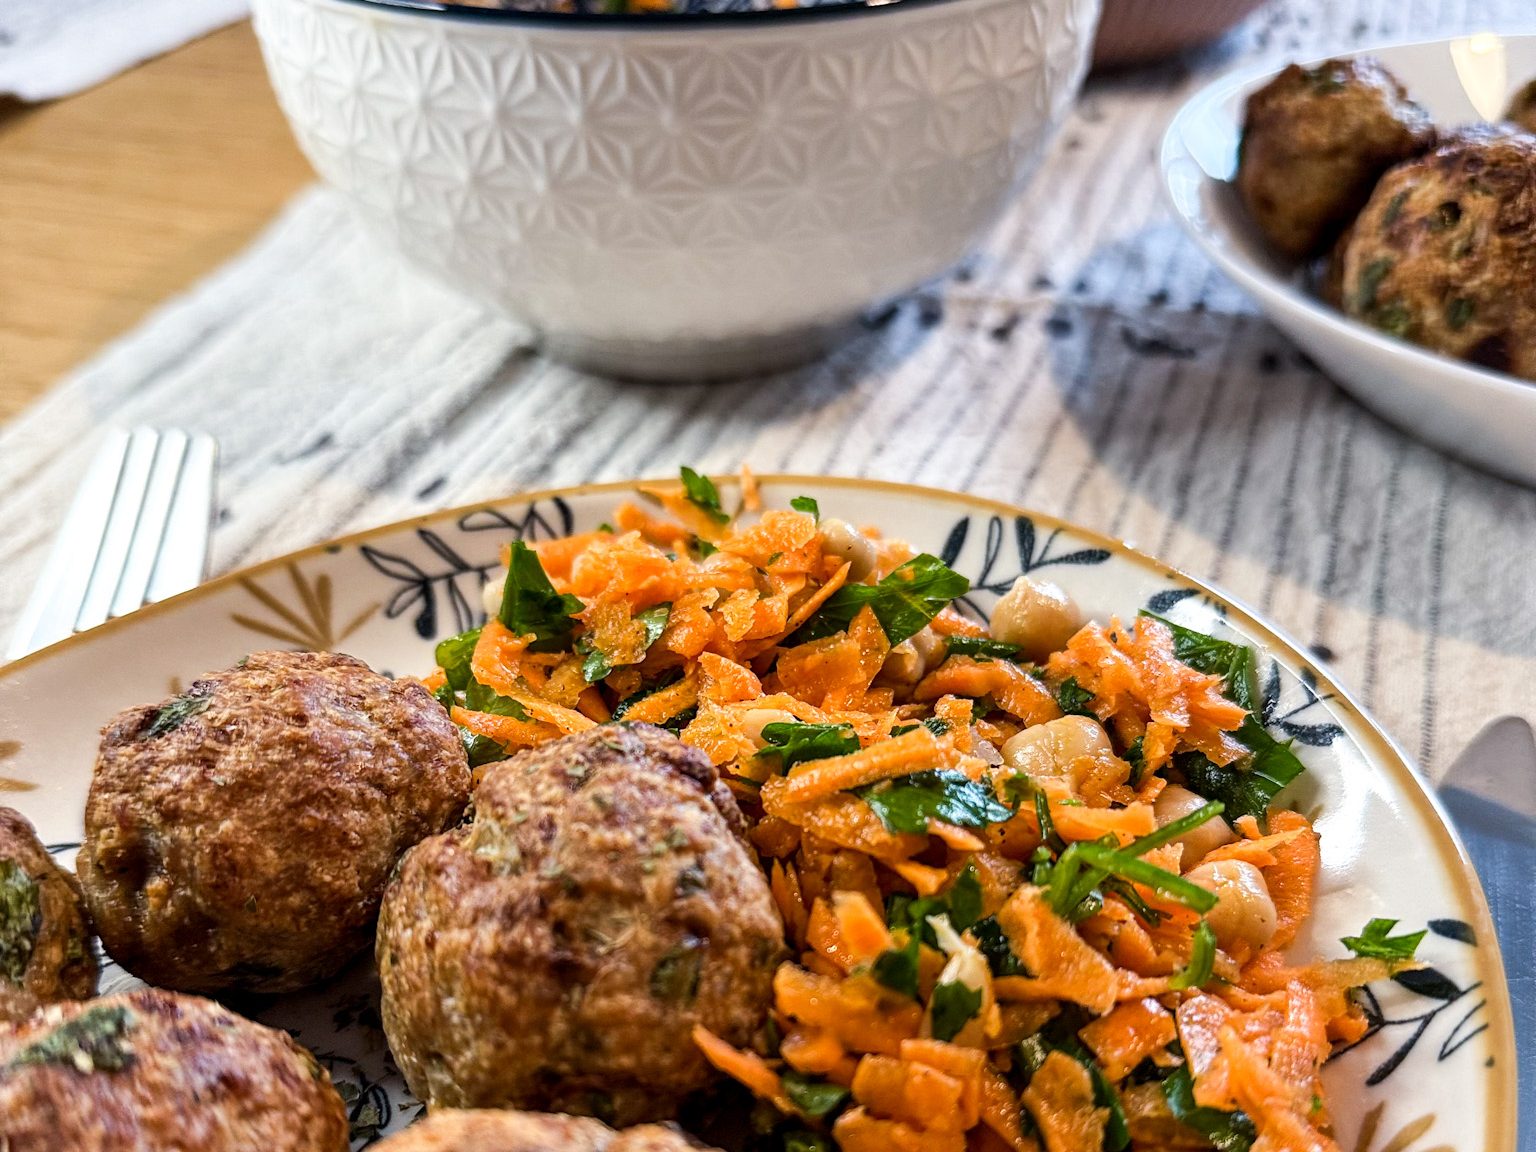
If you’re looking for a dish that’s easy to make, packed with protein and flavors, and perfect for any occasion, these meatballs are here to help you. They’re juicy, tender, and filled with cheesy goodness, making them ideal for serving with salad, in a sandwich, or as a standalone appetizer.
And when it comes to fresh, simple, and nutritious meals, nothing beats a colorful salad. This carrot and chickpeas salad is quick to prepare, packed with bold flavors, and brimming with wholesome ingredients. And it makes a perfect garnish for the meatballs!
Let’s dive into this step-by-step recipe!
Why You’ll Love These Meatballs
Healthier Protein: Made with lean ground chicken (or turkey) to cover your protein intake.
Cheesy Perfection: Parmesan cheese adds a savory, nutty flavor that makes these meatballs irresistible.
Versatile: Serve with marinara sauce, over pasta, or enjoy as a snack.
Easy to Prepare: With just a few pantry staples, you can whip up this recipe in no time.
In a large mixing bowl, combine the ground chicken, Parmesan cheese, breadcrumbs, egg, garlic, parsley, and seasoning: salt, pepper and paprika.
Use your hands or a spoon to mix the ingredients until just combined.
Scoop out about 1-2 tablespoons of the mixture and roll it into a ball. Repeat until all the mixture is used (you should have about 20 meatballs).
Preheat your oven to 200°C.
Arrange the meatballs on a parchment-lined baking sheet.
Lightly spray with olive oil and bake for 15-18 minutes, flipping halfway through.
Make the salad
Start by shredding your carrots and finely chopping the parsley.
Drain and rinse the chickpeas if using canned.
In a large mixing bowl, combine the shredded carrots, chickpeas, and fresh parsley.
In a small bowl, whisk together the olive oil, lemon juice, cumin, salt, and pepper. Adjust the seasoning to taste.
Pour the dressing over the top and toss until everything is evenly coated.
Tips and Variations
Add More Veggies: Try tossing in cucumber, cherry tomatoes, or roasted red peppers for variety.
Spice It Up: Add a pinch of smoked paprika, chili flakes, or harissa for a spicy kick.
Final Thoughts
These Chicken meatballs with parmesan are bound to become a favorite. They’re easy enough for a weeknight dinner but fancy enough to impress guests. Whether you’re pairing them with salad or serving them as a party appetizer, these meatballs deliver comfort and flavor in every bite.
Try them today, and let us know how you served yours! Don’t forget to top them with a little extra Parmesan and parsley —because you can never have too much cheese.